DISCLOSURE: This post may contain affiliate links, meaning when you click the links and make a purchase, we receive a commission.
WordPress doesn’t really need an introduction. It is the most used CMS (Content Management System) in the world. It is free to use and very user-friendly. And, WordPress has the biggest community compared to its other competitors. That is why it is so much popular.
One of the biggest fear for us website owners is the possibility of losing the content of our websites. There is no guarantee when our websites’ servers get crashed, damaged or corrupted. This can erase everything in an instant.
So, the solution to this problem is to take regular backup of your sites. And, there are a lot of ways you can do that. But, not all the methods are perfect which is why you should think long before you make a decision.
Fortunately, you don’t need to scratch your head so hard. Because we have a perfect solution for you. There is a plugin named ‘UpdraftPlus WordPress Backup Plugin’ which can be used to back up any WordPress websites.
The best thing? You can do it for free. At first, let’s explore some of the best features of this plugin. Then we will show you how this plugin works. For you, we will demonstrate the method in a step by step manner. And, to make things simpler, we will attach screenshots as well.
So, let’s get started…
How to Backup WordPress to Dropbox
More about UpdraftPlus Backup plugin:
- Free of cost:
This plugin comes in 2 versions which are free and paid. However, the free version is perfect for backing up your sites. You can obviously use the paid version for more useful and attractive features. You will find more details about the paid version down below.
- Automatic Backups:
The automatic backup feature itself is not a new thing. But, the amazing thing about this plugin is that you are getting it for free. Almost all of the other backup plugins don’t offer automatic backup for free.
- Backup to popular cloud storage platforms:
All other typical backup plugins allow you to store the backup to your web server or to your computer. This is not ideal. You should always store the backup to any cloud storage.
The UpdraftPlus backup plugin makes it super simple to do. With the help of this plugin, you can back up your websites’ to most of the popular cloud storage services for free. Some of the notable cloud storage services supported by this plugin are — Google Drive, Amazon S3, Dropbox, and Microsoft OneDrive etc.
Speaking of cloud storage, we will use Dropbox as our preferred cloud storage in this tutorial. So, let’s learn how to take backup of your WordPress site to Dropbox for free. Let’s go…
Steps to Follow:
Install the Plugin:
- Log in to the dashboard of your WordPress website
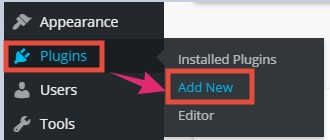
- Now, hover your mouse pointer over the ‘Plugins’ button from the left sidebar. It will bring out a new overflow menu. From that menu, click on the ‘Add New’ button
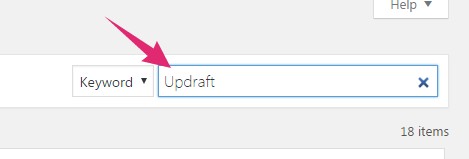
- It will take you to the plugin installation page. On that page, you will find a search box on the top right corner of the screen. Start typing ‘Updraft’ on the search box and you will see search results are appearing in the section below. However, if you don’t see any suggestions, check if there’s any typo and click the ‘Enter’ key on your Keyboard
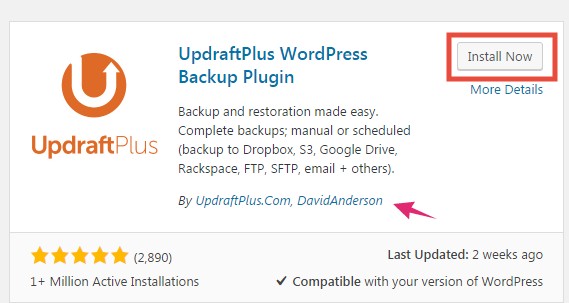
- In doing so, you will find a lot of plugin suggestions in the search result. You need to find the one named ‘UpdraftPlus WordPress Backup Plugin’ It was developed by UpdraftPlus.com, DavidAnderson
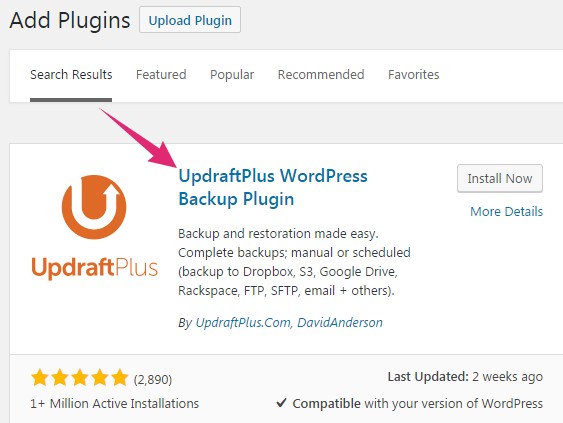
- Now, click on the ‘Install Now’ button and the installation will begin shortly
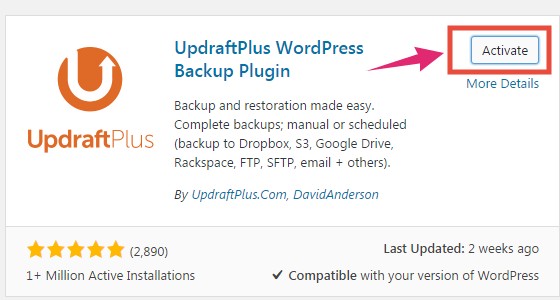
- After the installation is completed, you have to click on the ‘Activate’ button to make the plugin active
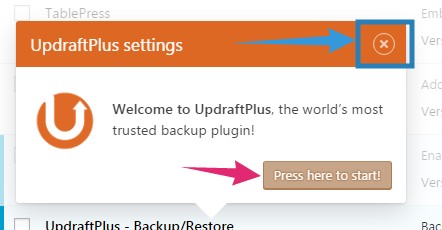
- After the plugin is activated, you will see a popup has appeared on the screen. You can close it by clicking on the ‘X’ icon from the top-right corner or you can go to settings of this plugin by clicking on the ‘Press here to start!’ button
That’s it. You have installed the plugin on your WordPress website. Now, you can start the backup process. In the next section, we will show you the whole process of taking backup of a WordPress website with the help of UpdraftPlus Backup plugin.
This section will be divided into multiple sub-sections to make it easier to understand the process. So, first, we will show you how to configure the UpdraftPlus Backup plugin. Then we will show you how to take the backup. So, let’s get started.
Configuring UpdraftPlus Backup Plugin:
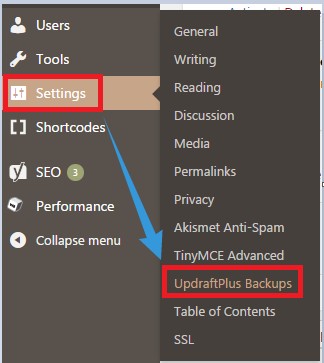
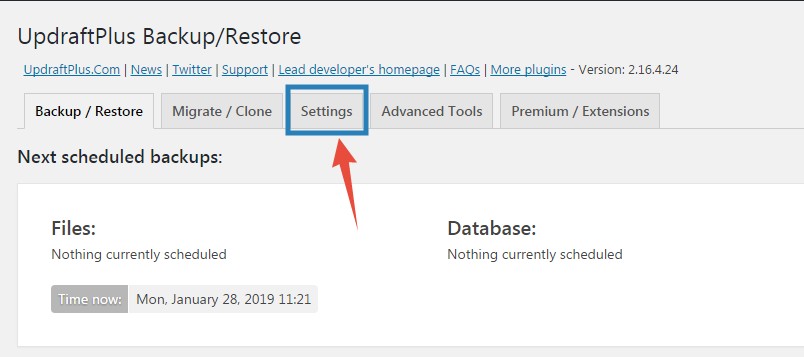
- On your WordPress dashboard, hover your mouse pointer over the ‘Settings’ button from the left sidebar and then click on the ‘UpdraftPlus Backups’ option from the sub-menu
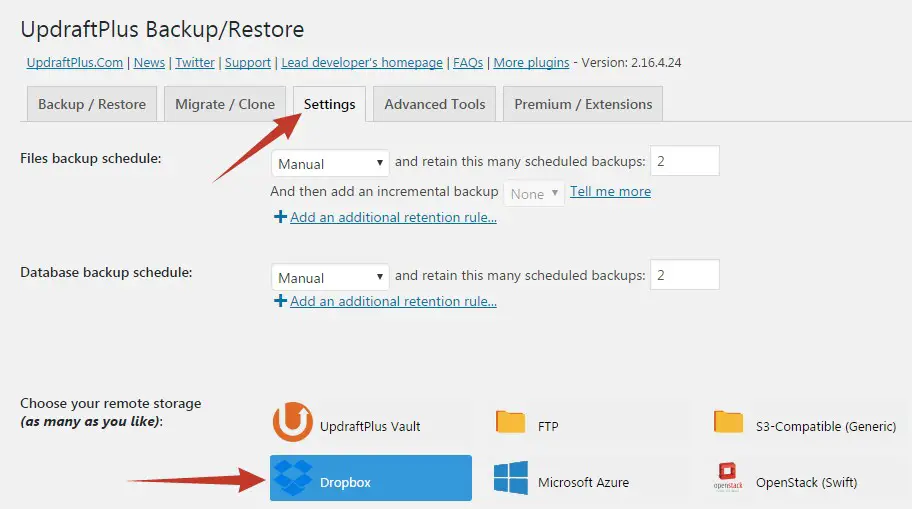
- Now, the settings page of UpdraftPlus plugin will open in the right side of the window. You need to click on the ‘Settings’ button from the top to open the settings menu
- The settings menu will look like this image below
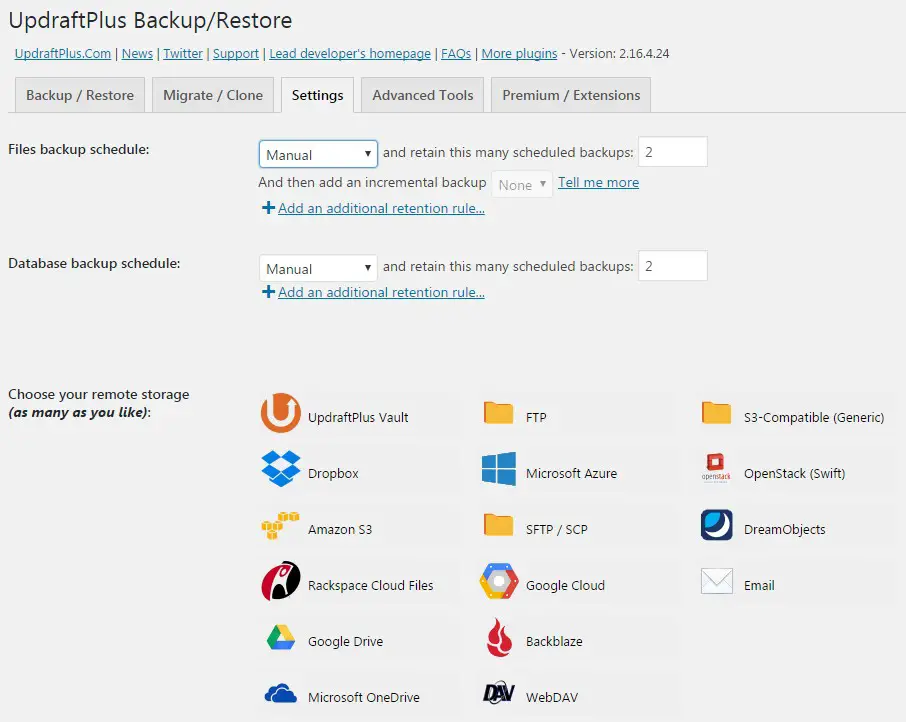
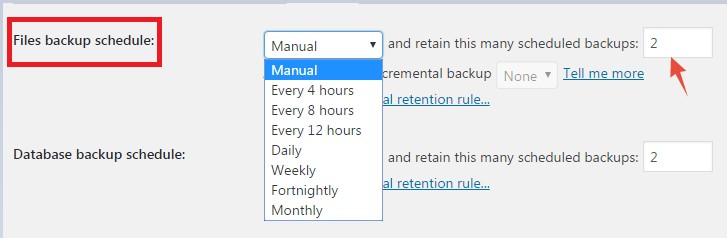
- Now, you can set up the backup schedule by selecting the time from the dropdown menu next to the ‘Files backup schedule’. Also, you can select the number of the backup you want to take at once. Normally, 2 is enough
- Next, you can set the ‘Database backup schedule’ similarly
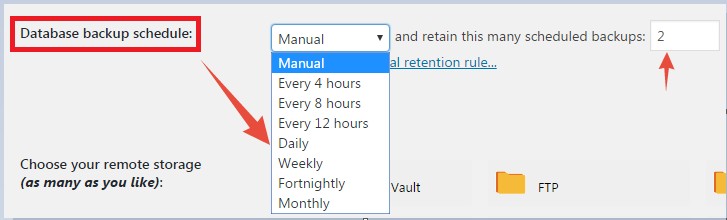
- Note: If you want to take an automatic backup, you need to select any one of the options except ‘Manual’. Select the option which you prefer
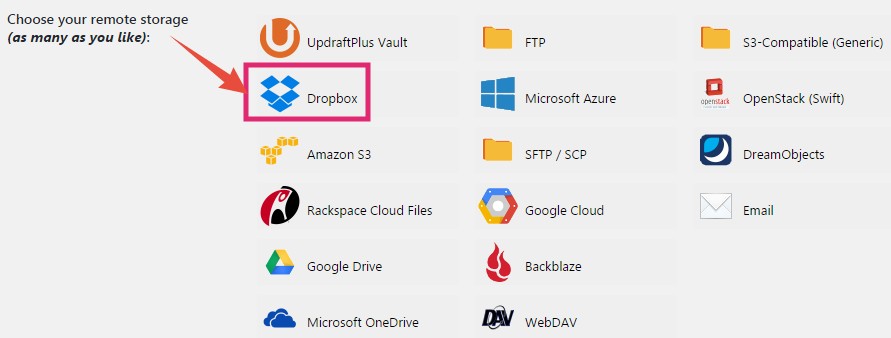
- Now, you need to select the remote storage option of your choice to where you want to back up the website file. For this tutorial, we will select ‘Dropbox’ from the list
- Scroll down and you will find more options. You can include or exclude files from the backup by selecting or deselecting them from the next setting

- Next, you will find three more settings. The first one would be ‘Database encryption phrase’. Then you have the ‘Backup more database’ You can skip both of these options. You can use the last option (Email Reports), though. If you want to receive notification about the status of the backup process directly to your email address
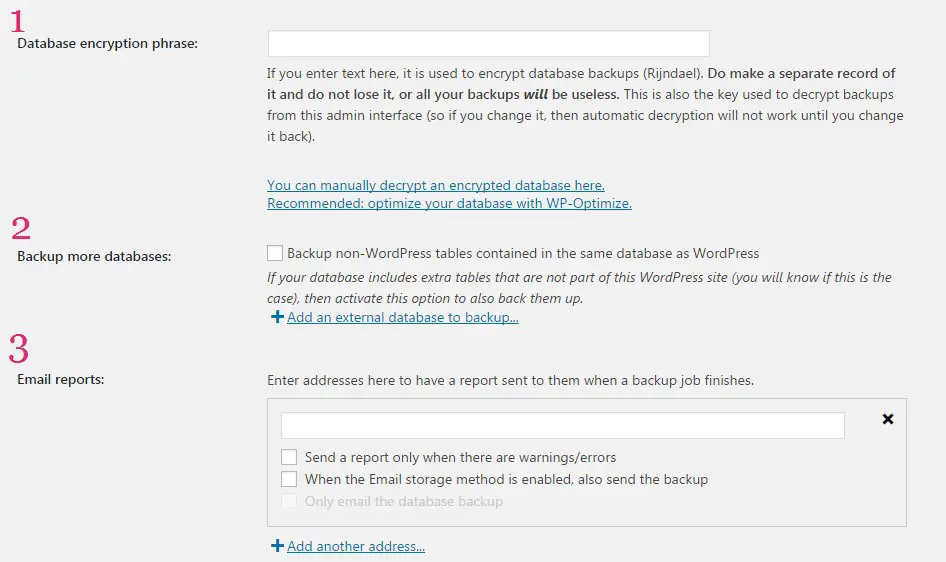
- The last option would be ‘Expert Settings’. If you don’t know anything about this option, you should leave it as it is

- Now, click on the ‘Save Changes’ button from the bottom of the screen. Instantly, the plugin will start to save the settings

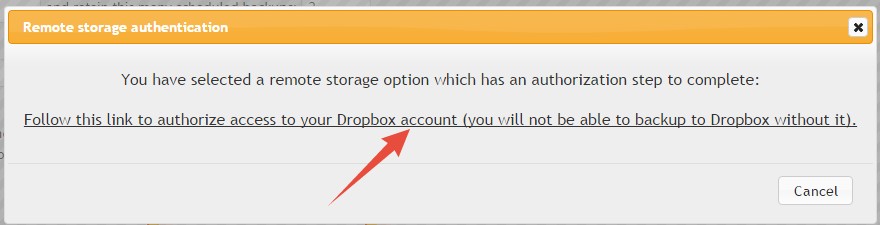
- After a while, the new settings will be saved and you will be prompted to authenticate the Dropbox account you have just added. Now, you will need to authenticate it
How to authenticate the Dropbox account?
- Click on the ‘Follow this link to authorize access…’ link from the popup
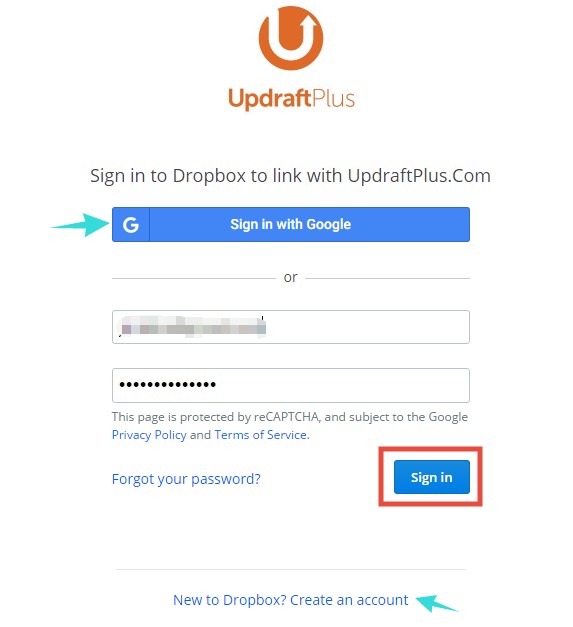
- On the next page, you will need to sign in to the Dropbox account on which you want to take the backup. If you don’t have an account with Dropbox, you can open one by clicking on the ‘Create an account’ Also, you can sign in using your Google account
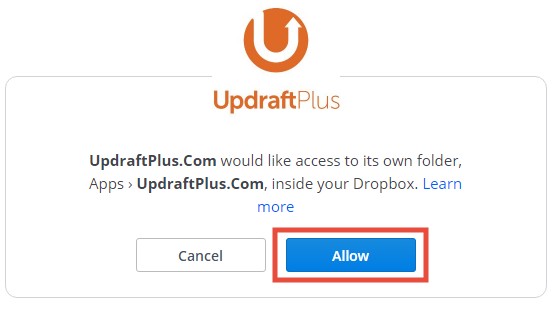
- Next, click on the ‘Allow’ button
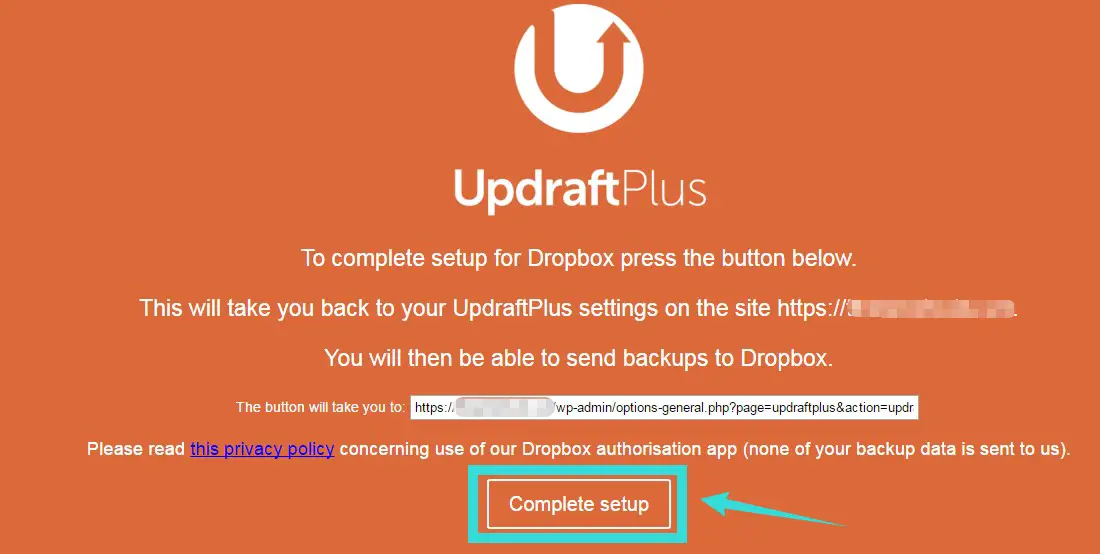
- At last, click on the ‘Complete setup’ button to finish the setup
- Shortly, you will be taken to the dashboard of your WordPress site. And you will see the confirmation of the authentication under the ‘Last log message’ field

- And, you don’t need to re-authenticate the account again unless you want to connect to another new account. Now you can start to take the backup
How to take the backup?
- Once you have set up the Dropbox account, you can start the backup process
- Open the settings page of the UpdraftPlus plugin and click on the ‘Backup Now’ button from the ‘Backup/Restore’ tab

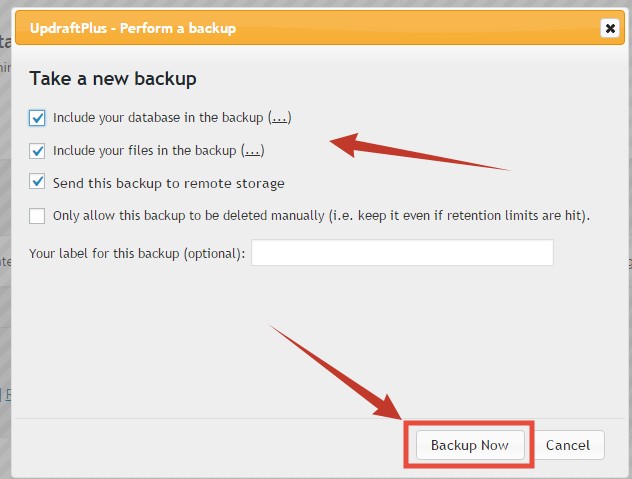
- Next, a popup will appear. You have to click on the ‘Backup Now’ button from the bottom of the popup window
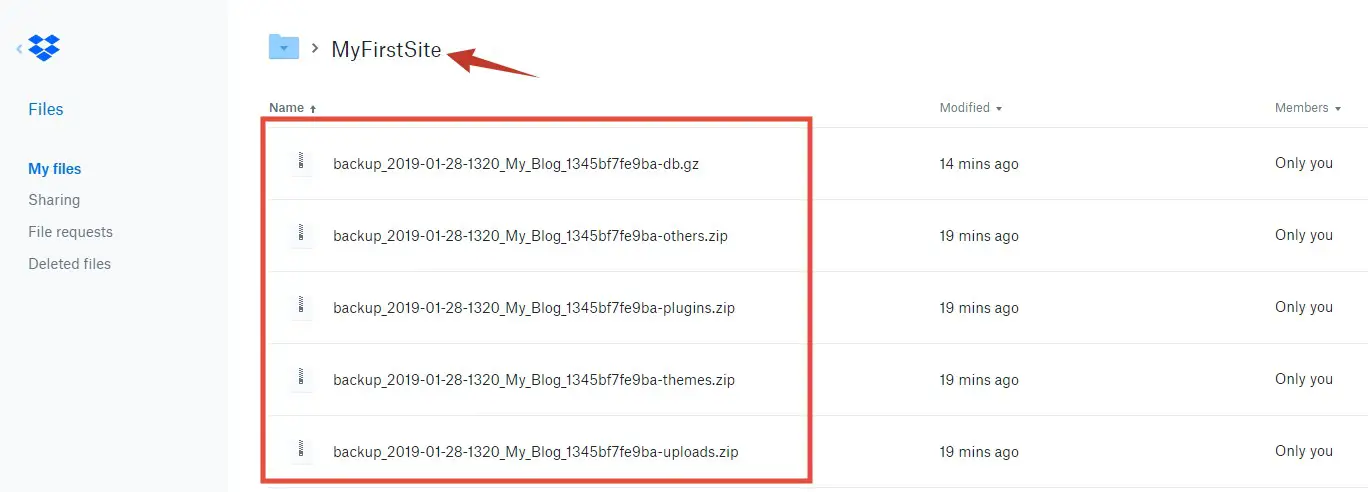
- In doing so, the plugin will start to create multiple zip files of all the different contents of your website

- After a short time, the backup process will begin and will be completed as well. That is it.

- When the backup is completed, you will have the backup information on the ‘Existing Backups’ section on the settings page of the plugin. From there, you can click on the ‘Restore’ button to restore the backup. Also, you can delete the backup by clicking on the ‘Delete’ button

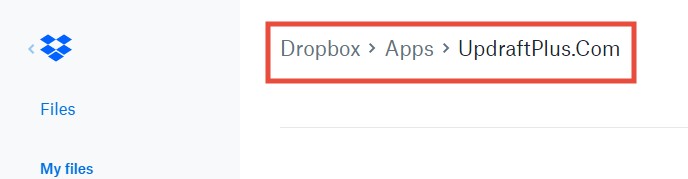
- The backup will be stored on ‘Dropbox > Apps > UdraftPlus.Com’ folder. Now, if you want to add it to any sub-folder, you can do that as well. However, it is not available in the free version of the plugin.
You would need to use a premium add-on to get this awesome feature. In the next section, we will be talking about this add-on.
Dropbox Sub-Folders add-on:
This is one useful add-on of UpdraftPlus backup plugin. With the help of this add-on, you can store your backups in folders other than the ‘Dropbox > Apps > UdraftPlus.Com’ folder.
How to use this Dropbox Sub-Folders add-on:
- First, you need to install the add-on on your website
- Then go to the ‘Settings’ tab of the UpdraftPlus backup plugin on your WordPress site dashboard. Then click on ‘Dropbox’ icon under the ‘Choose your remote storage’ option
- Scroll down a bit and you will find an option called ‘Store at:’. You can create a sub-folder by typing the name of the new folder in the blank box next to ‘apps/UpdraftPlus.Com/’ option
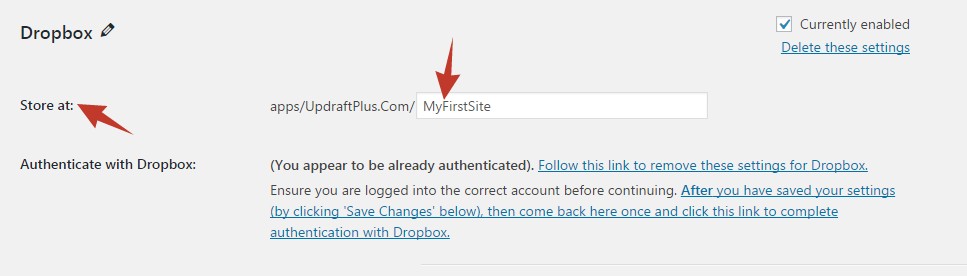
- Now, you have to click on the ‘Save Changes’ button from the bottom to save the new settings
- From that moment, all of the next backups will be backed up under the new sub-folder you have just created
- You can create as many sub-folders as you want to with this add-on
Usefulness of this add-on:
It can come in handy when you have multiple sites. Because you can create sub-folders to upload the content of each of these websites in a distinct folder. Thus, it will be easy to distinguish the files when you want to restore. It is also the best and easiest way to organize the backed up files of multiple websites.
There are a number of other add-ons ass well which can be used with the ‘UpdraftPlus backup’ plugin. You need to buy each one of them prior to use them. However, if you want to save money then you should use the premium version of this plugin. Because the premium version comes with all the add-ons. That’s not all. There are additional features in the premium versions which are not available in the free version. Let’s talk about these in the following section.
UpdraftPlus Backup Premium Plugin:
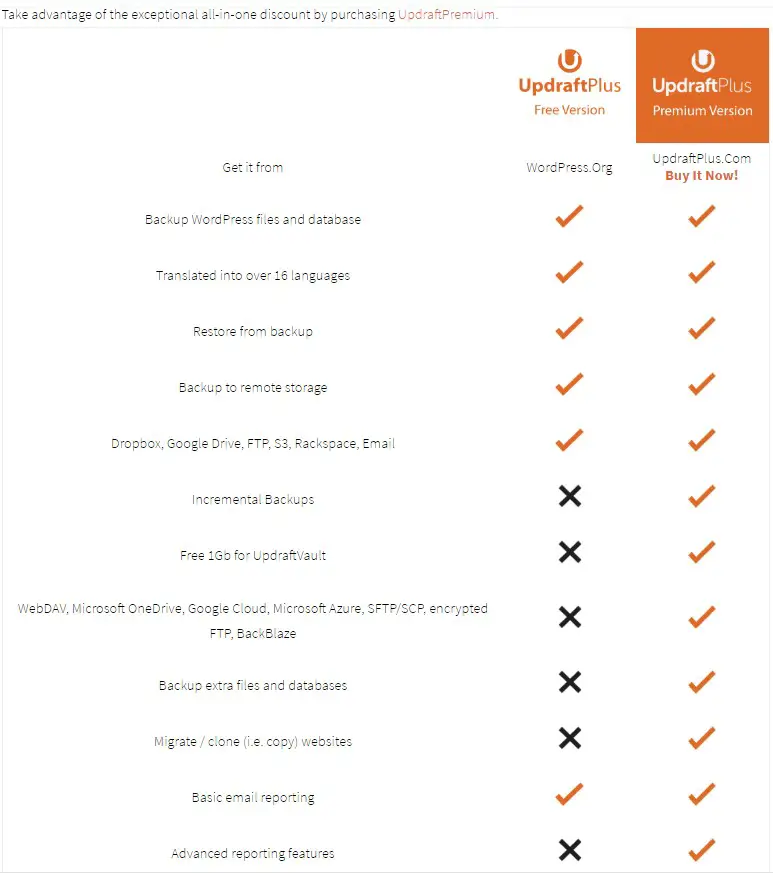
It’s true that the free version of the UpdraftPlus backup plugin is good. But it is also true that the Premium version is 100-times better than that. You might be thinking that we are messing with you. But to be honest with you, we are very serious. Why? The answer is below.
When you purchase the premium version, you will get free upgrades (for a year), free customer support (via email and forum), free 1 GB storage to UpdraftVault, and free tokens of UpdraftClone etc.
Do you know what’s even crazier? You will have all the UpdraftPlus Backup add-ons for free with the premium version. Furthermore, there are a lot of special features available in the premium version. Now, let’s learn about some of these features down below.
Additional Features of Updraft Backup Premium:
- Incremental backups:
It is a very useful feature. With this feature, you don’t have to take the full back up every time you take a backup. If you have already taken a backup, the next backup will take only the changes you have made since the last backup. So, the backup process will be faster and your web server will be on less stress.
- Pre-update backups:
This feature enables the plugin to automatically back up your website right before any types of updates (to themes, plugins etc.)
- Cloning and Migration:
Do you need to migrate your site to a new domain? Don’t worry. The premium version of UpdraftPlus Backup is able to migrate your sites to new domain directly and without any hassle.
- Backup non-WordPress files:
You can also backup non-WP files and databases without any problem.
- Fixed Backup time:
Although you can schedule an automatic backup with the free version of this plugin, you can’t schedule the exact time of that auto backup. But, with the premium version, it is possible to fix a time. And, the plugin will trigger the auto backup function right at the exact moment. You can even (fix) schedule to delete a backup.
- Lock Settings:
You can lock the premium version of the plugin with a password. So, it can help you choose which admin users can access the backups.
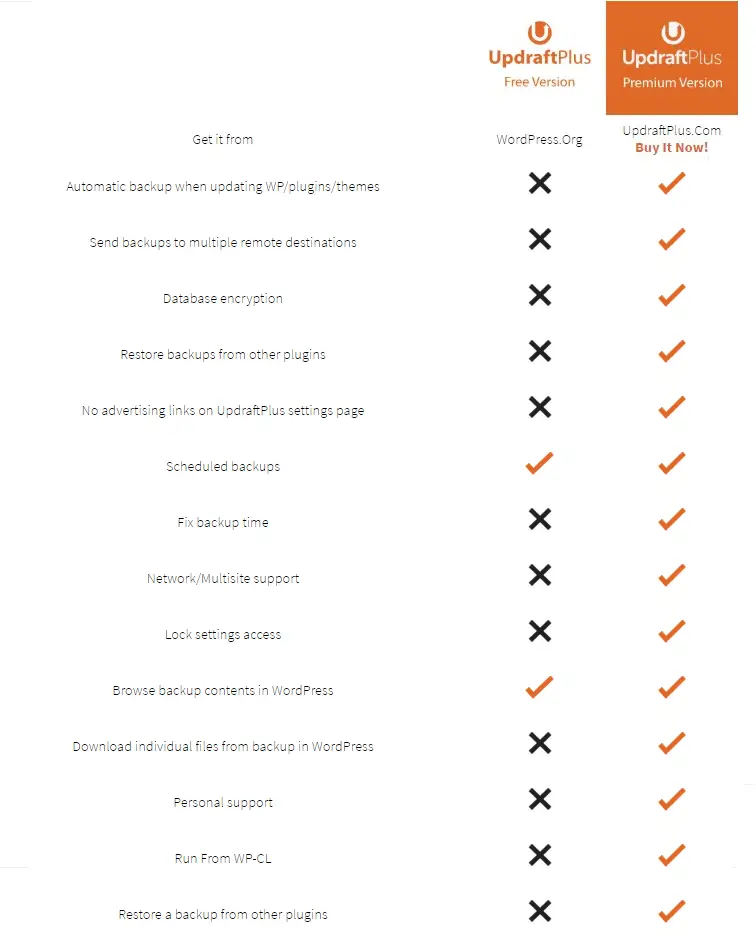
- Importer:
The premium UpdraftPlus backup plugin is capable of restoring backups from any other backup plugins.
- Multi-site support:
You can back up multiple sites with the premium version of the plugin.
- WP-CLI support:
You can use WP-CLI commands to take backups, delete backups, and list backups etc.
- More storage service support:
You can back up your WordPress sites to additional cloud storage platforms. For instance, the premium vision supports OneDrive, BackBlaze, SFTP/SCP, Azure, Google Cloud, WebDAV, and encrypted FTP etc. which are not supported by the free version.
- Backup to multiple destinations at once:
You can take backup of your sites to multiple locations at the same time. It is more secure to back up your files to more than one cloud services.
- Individual file download:
Don’t want to restore all the files from a previous backup? No problem. The premium version of the UpdraftPlus backup plugin is capable of downloading individual files from any particular backup as well.
- VIP Support:
You will get the highest priority while getting support from the UpdraftPlus team. First, they resolve the issue of their premium customers then they solve the issues of the free-version users’.
These are just the tip of the iceberg. There are more features and additional services which come with the UpdraftPlus Premium. You can learn all about them on their official website. So, we would proceed to the next section.
So, what’s the price of UpdraftPlus Backup Premium?
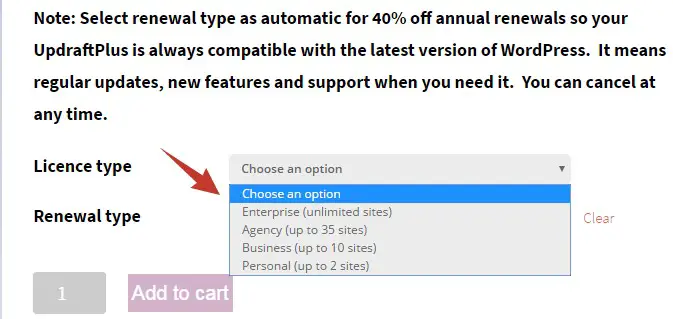
You will have to pay on a yearly basis for this plugin. There are 4 packages available to purchase. Also, if you choose automatic renewal at checkout, you will be able to get a 40% discount during the renewal.
The Packages are:
- Enterprise (unlimited sites) — $195.00 (for auto-renew $117.00)
- Agency (up to 35 sites) — $145.00 (for auto-renew $87.00)
- Business (up to 10 sites) — $95.00 (for auto-renew $57.00)
- Personal (up to 2 sites) — $70.00 (for auto-renew $42.00)
It is true that you might think that these prices are high. But, believe it or not, we would disagree with you. Why, though? First, if you compare the price of this plugin to other similar kinds of plugins then you would notice that the price is rather reasonable. And, it is also true that they are providing a whole lot of advanced features which are non-existent in other WordPress backup plugins.
On top of these, they are actually providing some special features for free. So, you can easily use their plugin without even spending a single penny. But, if you want to get the best value and service then we would definitely recommend going with the premium version.
It might seem that you are overpaying now but if there comes a time when your websites get corrupted or malware affected (we really hope not), you will thank us for the recommendation. So, we would frankly say that the price you are going to pay for the premium version of this plugin is really worth it.
Wrapping things up:
We have tried to cover all the important thing regarding backing up your WordPress website. On top of that, we have also introduced you to a very useful WordPress website backup plugin. We hope that this particular tutorial will help you when you need to protect your data.
And, please, don’t turn a blind eye to take care of your websites’ data. Once it is lost, it is lost forever. In those type of unfortunate situation, a backup can be your only savior. So, take backups of your websites if you haven’t already. And, you can always use UpdraftPlus Backup plugin for that.