DISCLOSURE: This post may contain affiliate links, meaning when you click the links and make a purchase, we receive a commission.
‘MODX’ was initially released in 2004. Since then it has become very popular among website owners. It is an open source CMS (Content Management System); so anyone can customize it their way.
Most importantly, it is free of cost. So, anyone can use it as a CMS on their website. If you are thinking about using MODX” on your site. We can say that you are making a great decision. But, prior to using ‘MODX, you have to install it on your web host.
To help website owners like you, we have created this guide. In this post, you will find the complete guide to install ‘MODX’ on your SiteGround account.
Oh, we will also attach screenshots to each and every step to make it easier for anyone. So, whether you are a beginner or a professional that doesn’t matter at all.
So let’s see what’s the secret?
Read also: Top MODX Hosting
Feel free to Subscribe to Our YouTube Channel if you like this video!
How to install ‘MODX’ using Softaculous on SiteGround
Mainly, there are two methods to install ‘MODX’ on a SiteGround web host. However, we will show you the easiest and best way, in this post. As a result, we will share the process of installing ‘MODX’ via Softaculous auto installer. It is pretty simple and will save a lot of your time. So let’s begin.
- Login to your SiteGround cPanel account
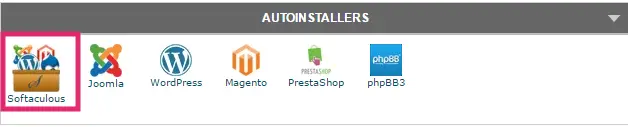
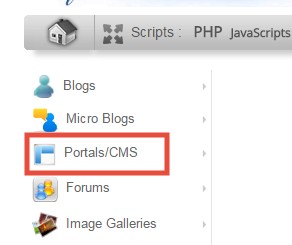
- As we are going to use the Softaculous installer, click on ‘Softaculous’ icon which will be under the ‘Auto Installers’ tab.
- That will redirect you to the Softaculous ‘Top Scripts’ page
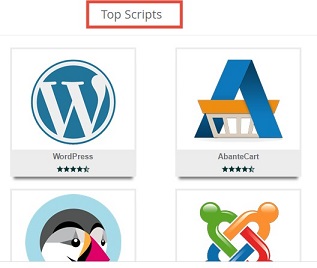
- Now, you just need to find and click on the ‘MODX’ button to get to the next page
But, there’s a catch!
Normally, you won’t find the ‘MODX’ software button on the ‘Top scripts’ list. But, you can find it in 3 ways. In the next part of this guide, we’ll talk about the 3 ways to find the ‘MODX’ software button. You can go with any one of them.
1st way:
- Navigate to the left-side menu of that page. Click on the little arrow next to the option ‘Portal/CMS’ to bring out another sub-menu. Find the button ‘MODX’ on that sub-menu and click on it
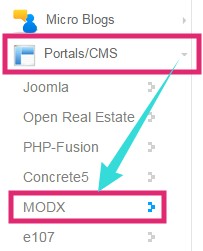
2nd way:
- You can also directly click on the ‘Portal/CMS’ option from the left pane
- Then, a list of popular CMS will appear on the right side of the page. Just scroll down and find the ‘MODX’ button. If you click on it, you will be taken to the next page where you can start the installation process
3rd way:
- This is the easiest trick to find the ‘MODX’ button. You will see a search box on the top -right corner of the screen
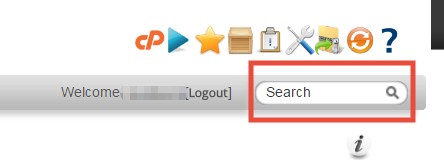
- You have to start typing ‘MODX’ (not case sensitive) on the search box. And you will see auto-suggestion starts to appear. Now, when the name ‘MODX’ appear on the suggestion box, click on it
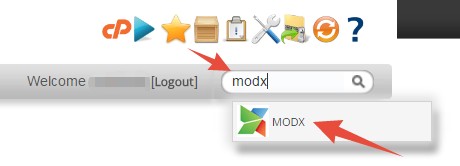
- You can also fully type ‘MODX’ on the search bar and click ‘Enter’ on your keyboard. This way you don’t have to wait for the auto-suggestions
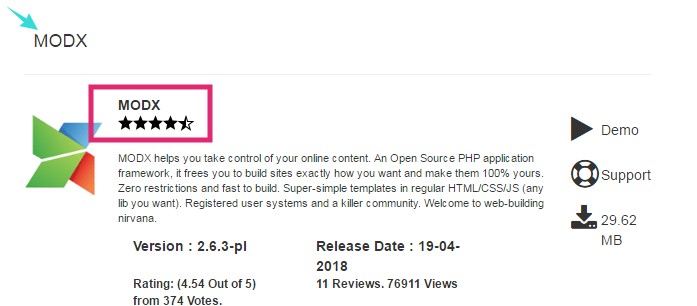
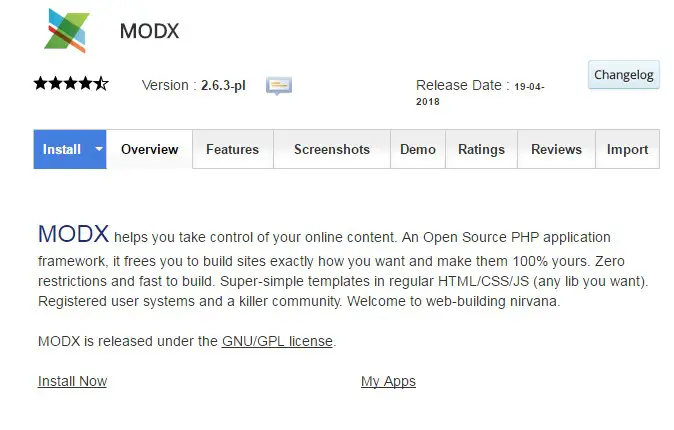
Now, if you have found the ‘MODX’ button. You can click on it. That way, you will be redirected to the ‘MODX’ overview page. From this page, you can start the installation process.
Start the installation process:
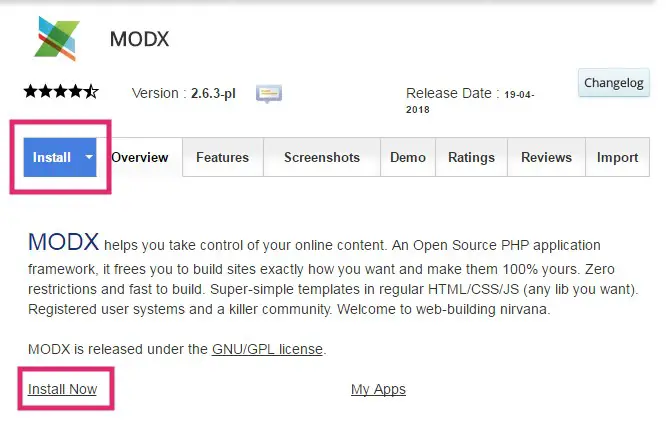
- Click on the blue ‘Install’ button or the ‘Install now’ button to start the installation procedure
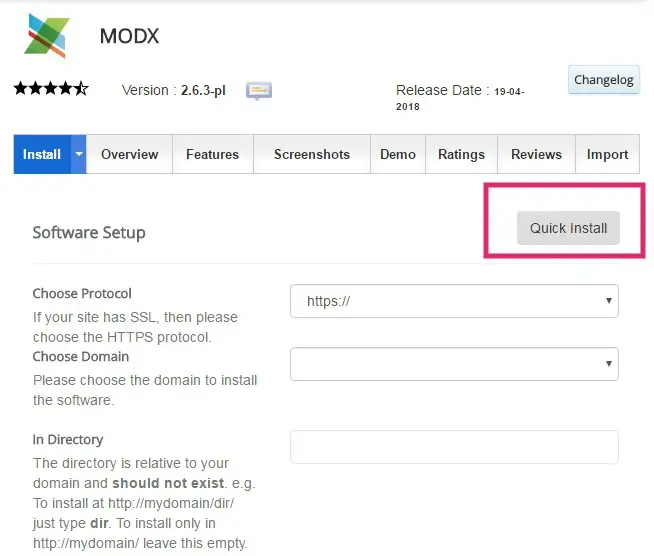
- Typically, this will start the ‘Custom Install’ procedure. If you want to go to the ‘Quick install’ route. Just click on the ‘Quick install’ button from the top
If you want to get the best out of your new website. Then, we will recommend the ‘Custom Install’ procedure. Because it has all of the important configuration settings. Although, ‘Quick Install’ is better for beginner users. But, we will cover the ‘Custom Install’ here in this article. If you are a beginner, don’t worry. We’ve got you covered.
The ‘Custom Install’ will come with 4 configuration settings. We will talk about all of them in the next part. We will begin with the ‘Software Setup’
Software Setup:
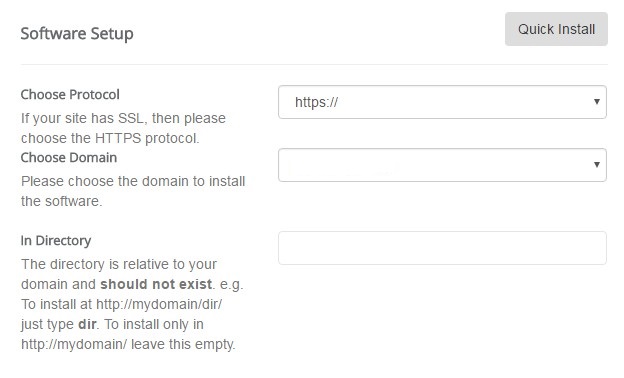
On this section, you will get 3 options to deal with.
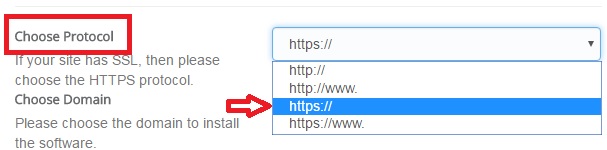
- The first one is ‘Choose Protocol’. There will be four options. Among them, we recommend to use either the ‘https://’ or the ‘http://’. If you are debating which one to choose between these two options. It’s simple. If your domain name has SSL protection then choose ‘https://’. If your domain name does not have SSL protection, then choose ‘http://’
- If you connected only one domain name to your hosting account. In the second option, you will see that domain name is automatically selected. But, if you have multiple domains connected to your hosting account. Then select your preferred one from the drop-down menu
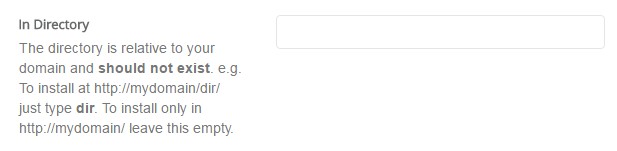
- The last option is ‘In Directory’. If you want to install ‘MODX’ directly to your domain name. Then you should keep this option empty. However, if you want to install the CMS on any other sub-folder/directory then type the name on that box. For instance, if you type ‘store’ on the box then your ‘MODX’ website will be found using the URL ‘yoursite.com/store’. But, if you keep this box empty. Then the ‘MODX’ website will be found on ‘yoursite.com’
Site Settings:
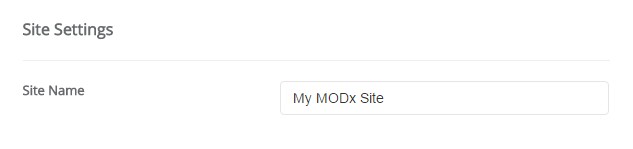
- Just type the name of your site in this section
Admin Account:
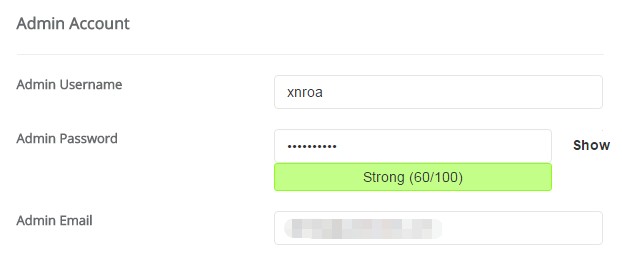
Here, you will get 3 options to set up. And, all of these options are very important for your site. We recommend, you note down or save the information which you will provide in this section. This will be necessary when you will loin to your site’s admin panel.
- Type any username on the first box. However, do not use any popular names like admin, administrator, user etc. That way, you can be secure from hackers. Because popular usernames are very easy to guess by the hackers. There will be an auto-generated username, you can keep that if you want to. But, note it down
- Use a strong password on the second box. Otherwise, you can use the auto-generated one too. Save the password too
- On the ‘Admin Email’ box, provide a valid email address. You will need it if you forget your password to reset it

Advanced Options:
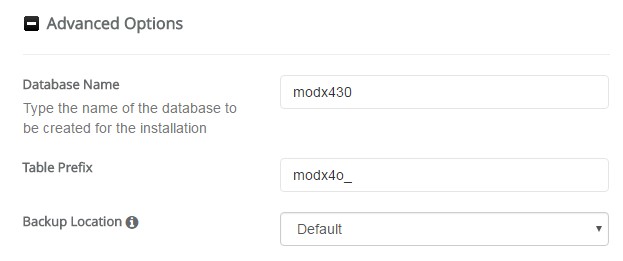
If you click on the little ‘+’ icon, the ‘Advanced Options’ will appear. You don’t have to change anything in this section. But, it is a good practice to save the ‘Database Name’ and ‘Table Prefix’ for later use.
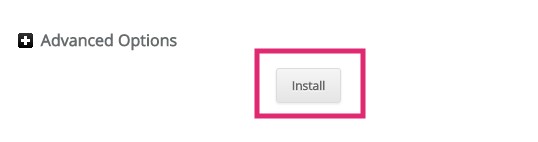
Finalizing the installation:
At this point, you have customized all of the options. You should recheck all of the information. If they are ok. You can continue to the installation.
- Click on the ‘Install’ button to initialize the process
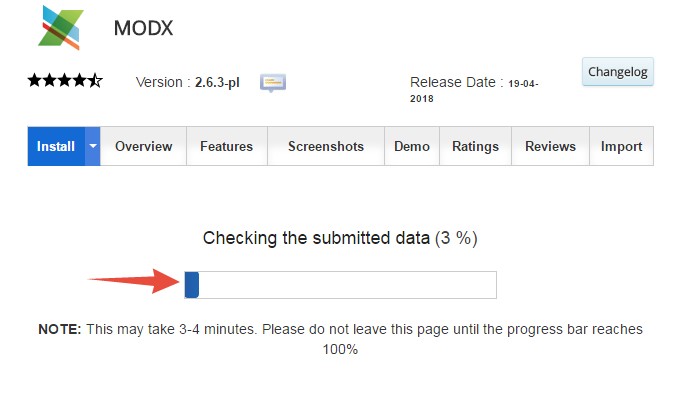
- You will be taken to a new page; where you will see that the installation is in progress. Wait for the installation to be completed. Do not close this page until the installation is done. If the progress bar reaches 100%, then the installation will be completed
- When the installation is completed, you will be redirected to another new page. Where you will see a message saying ‘Congratulations, the software was installed successfully’
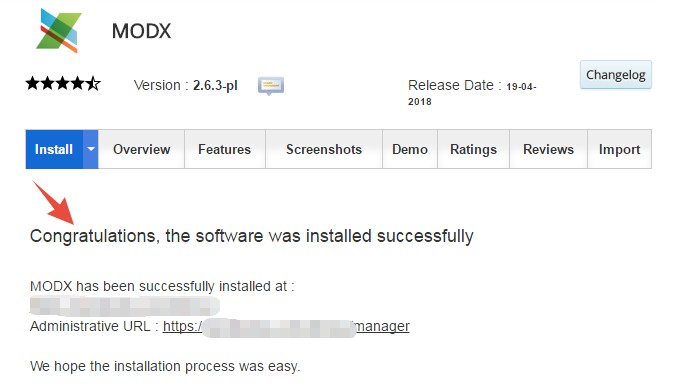
- The page will also contain your ‘MODX’ administrative URL. By using this URL, you can log in to the ‘MODX’ admin panel. So, save this URL or at least bookmark it
Note: Generally, the ‘MODX’ administrative URL structure looks like ‘yoursite.com/manager’. You have to just replace the phrase ‘yoursite’ with the actual domain name of yours
Login process:
- Click on the ‘Administrative URL’ or use the default admin URL like we said above i.e. ‘yoursite.com/manager’
- Next, you will be taken to the login page of your new ‘MODX’ admin panel
- Just enter the username and password. Then click on ‘Login’ to enter into the backend of your site
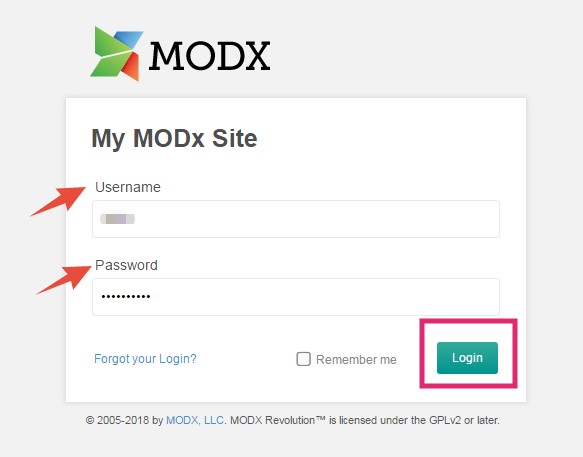
Tip: If you have forgotten the username/password. Check the email which you used in the ‘Admin Email’ section. The login credentials will be sent to that email address
That’s it! You have made it. Now, you will be able to install ‘MODX’ CMS on your SiteGround web host.
Take it to the next level:
If you are still here with us. Then you have made it to the end of this article. We have shown you how to install ‘MODX’ on a SiteGround web host. As always, we have shared the easiest method of them all.
Now, it’s your time to shine. If you haven’t already installed ‘MODX’ on your web host. Go there and install it. And, share this guide with everyone else.