DISCLOSURE: This post may contain affiliate links, meaning when you click the links and make a purchase, we receive a commission.
Do you want to create an internet forum website?
Using these type of sites, you can easily stay in touch with a lot of people at the same time. It may sound crazy. But, it is very easy to set up a forum website. You just need to have a web host account and a domain name. If you already have those, you are all set. Now, you just have to install a good bulletin board system software package on your web host.
If you don’t know what’s a bulletin board system software package. For your convenience, bulletin board software is used to create online community, internet forum, internet discussion board type of websites.
If you are still confused. Don’t worry at all.
Because today, we will share the method of installing a bulletin board system software on a ‘SiteGround’ web host. In our case, ‘phpBB’ is our bulletin board system software for this article. ‘phpBB’ comes from the phrase ‘PHP Bulletin Board’. This is a very popular software for creating internet forums.
So, if you are here to learn about the system to install ‘phpBB’ on your SiteGround hosting account.
You can go ahead and start reading the rest of the article.
Read: Top phpBB Hosting
Feel free to Subscribe to Our YouTube Channel if you like this video!
Installing ‘phpBB’ using the Softaculous auto installer on a SiteGround web host
As using ‘Softaculous’ is the best and simplest method of installing any software on a SiteGround web host. We will use this method for today’s article. So, let’s move on.
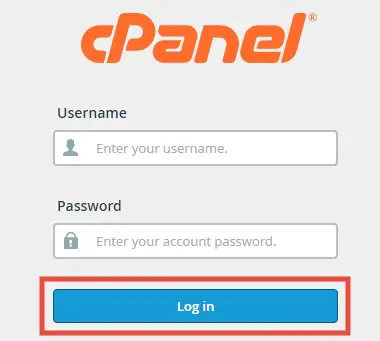
- Sign in to the cPanel of your SiteGround account
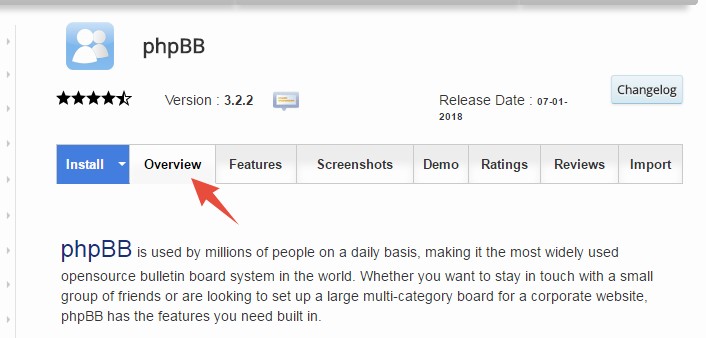
As you are logged in to your cPanel dashboard. You can proceed to the next section. You have to go to the ‘phpBB’ overview page to start the installation process. Now, you can get there using two easy methods. In this part of the article, we will describe both of the ways for you. It’s up to you, which you are going to follow.
#1:
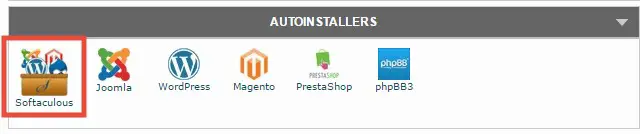
- You have to look for the ‘Softaculous’ button in your cPanel dashboard. Normally, it will be under the ‘Auto Installers’ tab. Click on the ‘Softaculous’ button to proceed
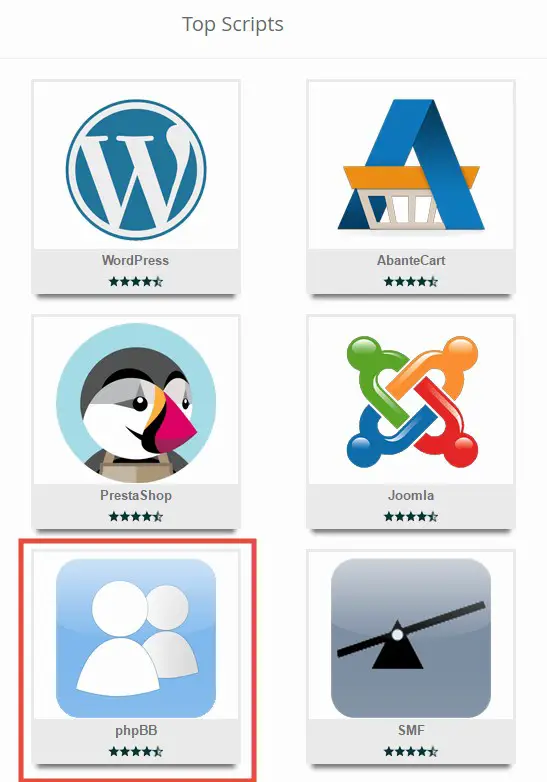
- Now, you will be at the ‘Top Scripts’ page. Here, if you scroll down a bit, you will see the ‘phpBB’ icon. Click on the ‘phpBB’ button to proceed to the phpBB overview page
#2:
- It is the easiest way to go to the overview page. However, it might not be available for all of you. Because the style of the cPanel dashboard changes from time to time
- If you see the ‘phpBB3’ button under the ‘Auto Installers’ tab on your cPanel dashboard. Then click on it
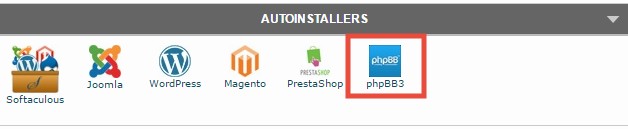
- It will directly take you to the ‘phpBB’ overview page
As you are already on the ‘phpBB’ overview page. It is time to begin the installation process. Let’s jump right in.
Begin the installation process:
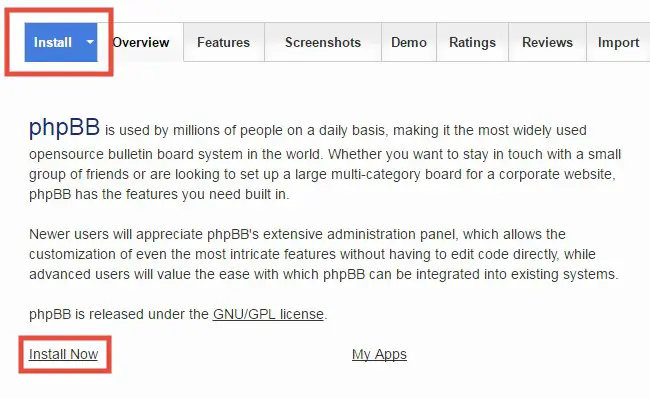
- On the ‘phpBB’ overview page, click on the blue ‘Install’ button. Or you can also click on the ‘Install Now’ button to start the procedure
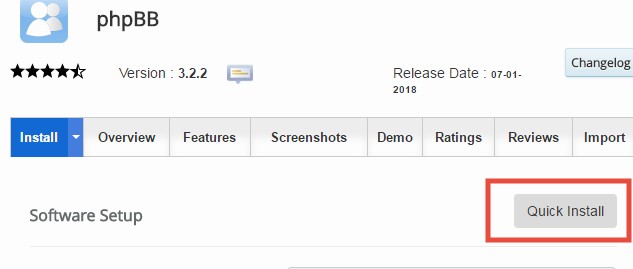
Now the installation page will appear. By default, you will see 5 sections on the installation page. This is because you have selected the ‘Custom Install’ method. But, there’s another method available.
The other method is ‘Quick Install’ method. But, you don’t need to use the quick method. As it lacks some important settings, we will recommend you to use the default ‘custom method’. Because of that, we are also going to cover the ‘Custom Install’ method in this article.
- However, if you want to use the ‘Quick Install’ method. Just, click on the ‘Quick Install’ button from the top-right corner of the screen
As we are going with the ‘Custom Install’ method. So, we will share the whole method part by part. So, let’s go.
Software Setup:

- Choose Protocol: There will be four options to choose from. Normally, if your site has SSL protection, then go with the ‘https://’ option. If your site doesn’t have SSL protection, use the ‘http://’ option. It is enough if you use any of these two options. That way, you don’t need to use any of the other two options which are ‘https://www’ and ‘http://www’.

- Choose Domain: The primary domain connected to your hosting account will be automatically selected. But, if you have multiple domains connected to your web host. Then you can select the preferred one from the drop-down menu
- In Directory: You can skip this option. For a forum website, it is not needed
Board Settings:

- Board Name: Type the name of your ‘phpBB’ website
- Site Description: In this box, you can type the description of your site. It could be the tagline or slogan of your site
- Board Email: There will be an email address assigned automatically. You can change it if you want to. It is up to you
Admin Account:
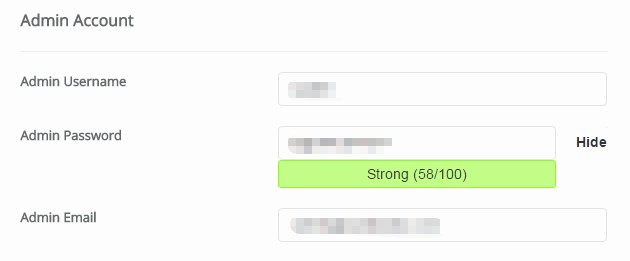
Note: The information you are going to provide in this section is very important. These will be needed later. So, we advise you to save or note them down anywhere safe
- Admin Username: Normally, there will be a username on the box. If you don’t like it, you can change it. But, never use any normal usernames like admin, user, administrator etc. These popular names are very easy to guess. So, the hackers can hack your site with ease
- Admin Password: Yet again, you will find the password box is filled by default. But, you can change it if you are not content with the default one.
- Admin Email: You will find an email address is already present in the box. It is recommended that you change it to one of your personal email address. As you will need to have access to it. Your login credentials will be sent to this email ID. You can also use this email address if you need to reset your password

Choose Language:

It’s simple. Choose the preferred language of your site from the drop-down menu
Advanced Options:
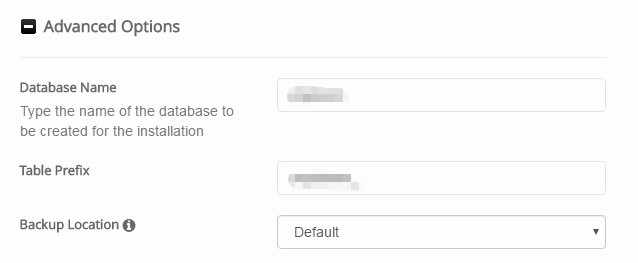
- On this section, the ‘Database Name’ and the ‘Table Prefix will be filled automatically. So, you don’t need to change anything at all. But, you can save the information if you want to
- The ‘Backup Location’ will be set to ‘Default’. You can skip this section too
Finalizing the installation:
As you have just configured all of the settings. It’s about time, you complete the installation. So, for one more time, check the information you have provided earlier. If you are pleased with everything. You can proceed to the next stage.
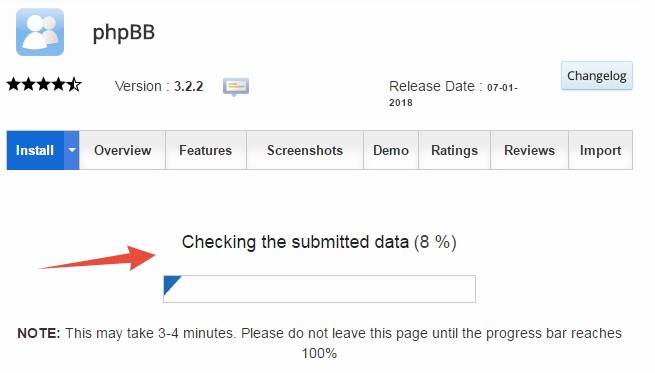
- Click on the ‘Install’ button which will be under the ‘Advanced Options’ section

- Then straight off, the installation will be started. You can see the situation of the installation in the progress bar. The installation will take just a minute. So, don’t close the tab of your browser until it is completed
- When the installation is done, you will see a ‘Congratulations’ message on the next page
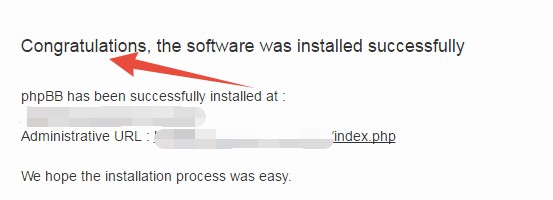
- You will also find the ‘Administrative URL’ of your new site. You should bookmark or save the URL

- Below that, you will find some important notes. These are related to the process of logging in to the admin control panel of your new ‘phpBB’ website

As you have installed the ‘phpBB’ on your SiteGround web host. Now, you can log in to your site. Although, logging in to a forum based site is somewhat different from normal sites. Don’t worry. We will be with you the whole time. So, let’s learn the way to log in to your new ‘phpBB’ site.
How to login to phpBB admin panel:
- Go to your new website from a browser. Or you can also visit the ‘Administrative URL’, which you got in the previous step
- At the new screen, you will see the login page. Now, enter the username and password on the particular boxes. And click on ‘Login’ button. At this point, you will be logged in to your forum as a normal user
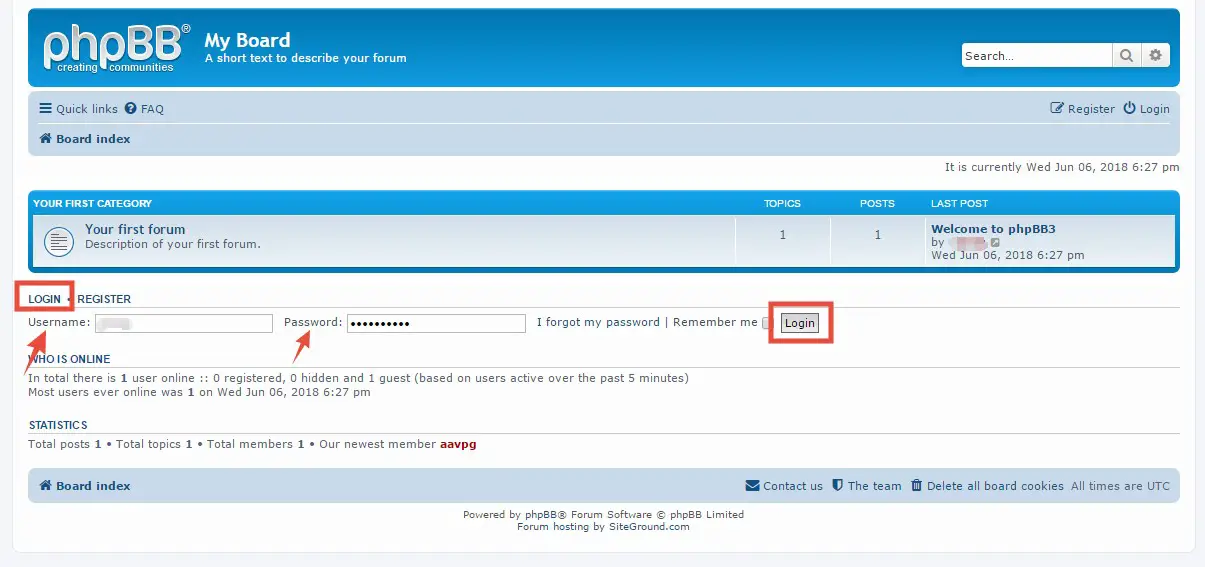
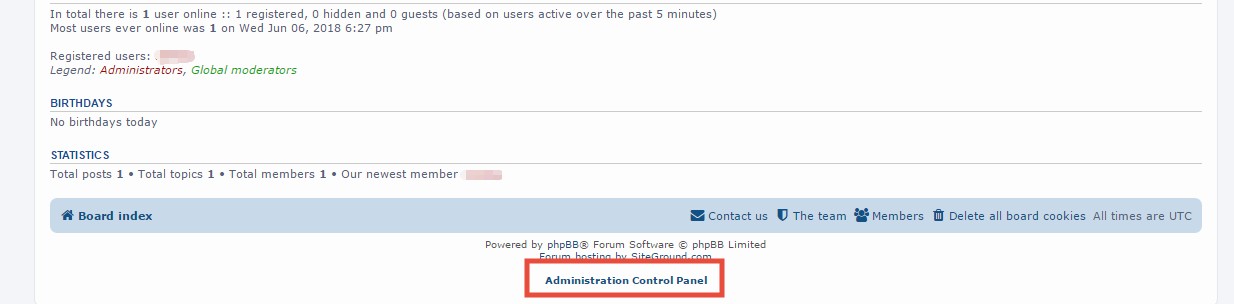
- If you want to log in as an ‘Admin’ then you have to click on the ‘Administration Control Panel’ option which will be on the bottom of the screen
- Then on the next page, you have to re-enter the username and password (which you used earlier) and click on the ‘Login’ button to proceed
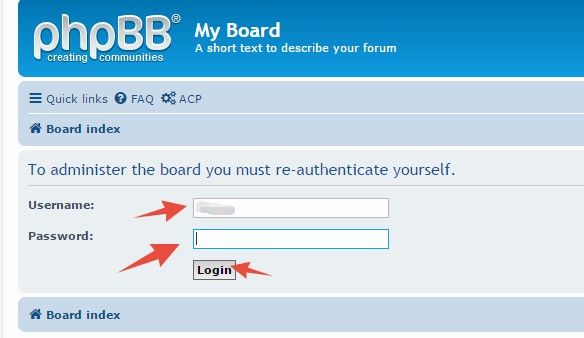
- Now, you will be logged in as an ‘Admin’ of your forum

On a final note:
We hope that this article will help you to install ‘phpBB’ on your ‘SiteGround’ web host. We tried to describe the full process as simple as possible. Now, it’s up to you. Go and show the world your new website.