
DISCLOSURE: This post may contain affiliate links, meaning when you click the links and make a purchase, we receive a commission.
With over 1 million downloads, ‘SilverStripe’ has made it to the list of popular CMSes all over the world.
And, as the time goes, the popularity is increasing. This CMS (Content Management System) comes with some awesome features. One of the most unique features of this CMS is that it separates the role of ‘Authors’ and the ‘Developers’. Another one is the inclusion of the ‘out-of-the-box’ web-based administration panel. This means that you can actually edit anything from the front-end of the website.
Plus, with every new update, the developers are bringing new features to it. So, if you as a website owner is interested in using the ‘SilverStripe’ CMS on your website. You should read the rest of this post. Because here, we are going to describe the process of installing ‘SilverStripe’ on a SiteGround web host.
On top of that, we will attach screenshots to every step to make this easier for everyone.
So, if you happen to be a SiteGround hosting account owner, let’s jump right in.
Read: Top SilverStripe Hosting
Feel free to Subscribe to Our YouTube Channel if you like this video!
How to install ‘SilverStripe’ on ‘SiteGround’ web host (using Softaculous):
In this article, we will share the easiest method to install ‘SilverStripe’. Yes, you guessed it right. We are going to use the popular ‘Softaculous’ script installer for this purpose. Because ‘Softaculous’ makes the process just a piece of cake.
Starting Steps:
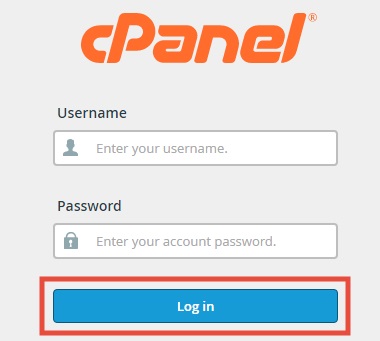
- The first thing you have to do is to log in to your SiteGround cPanel
- Then find the ‘Softaculous’ button & click on the button to proceed to the next step
- On the next page you will find, the list of ‘Top Scripts’
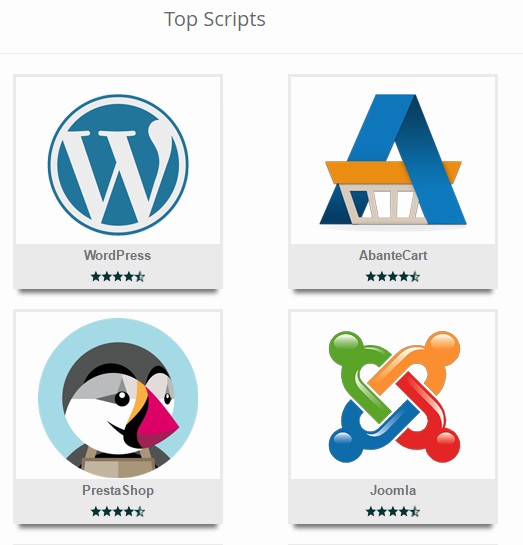
But, you won’t be able to find the ‘SilverStripe’ script on that list. And, there are 3 ways you can find the ‘SilverStripe’ button from there. For you, we will let you know all of the ways to make this easy for you. If you are confused with all of this methods. You can use any of the methods among the three. So, let’s see how to find the ‘SilverStripe’ button.
#1:
- On the left side of the screen, you will find the ‘Portal/CMS’ button. Click on it
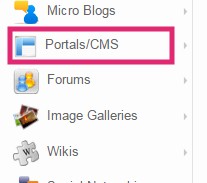
- Then on the right side, you will see that the list of all the CMS is appearing
- If you scroll down, you will find the ‘SilverStripe’ button. Click on the button to proceed
#2:
- You can also just click on the little arrow which is next to the ‘Portal/CMS’ option from the left sidebar. Then you will see a sub-menu will appear down below. Just scroll down and find the ‘SilverStripe’ button. After you locate it. Click on the ‘SilverStripe’ button to proceed
#3:
- Another way of finding the ‘SilverStripe’ button from the ‘Top Scripts’ page is searching for it
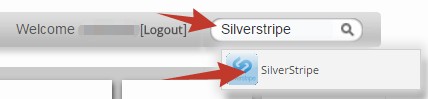
- If you look at the top-right corner of that page. You will notice a ‘Search’ box

- On the search box, type ‘SilverStripe’ (not case-sensitive). And you will see the ‘SilverStripe’ icon will appear on the suggestion box below the search box. Click on the ‘SilverStripe’ icon from the suggestion to proceed
- Or you can also type the word ‘SilverStripe’ on the search box. And click on the ‘Enter’ key on your keyboard to proceed
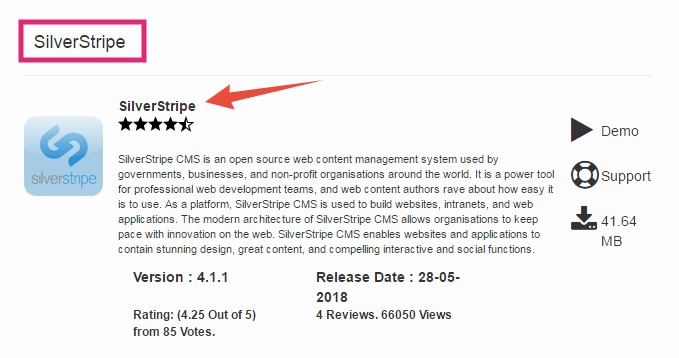
So, if you have already found and clicked on the ‘SilverStripe’ button. Now, you will be redirected to the ‘SilverStripe’ overview page. On this page, you will find a summary of the ‘SilverStripe’ CMS. Also, you can see the features, screenshots, ratings, reviews etc.
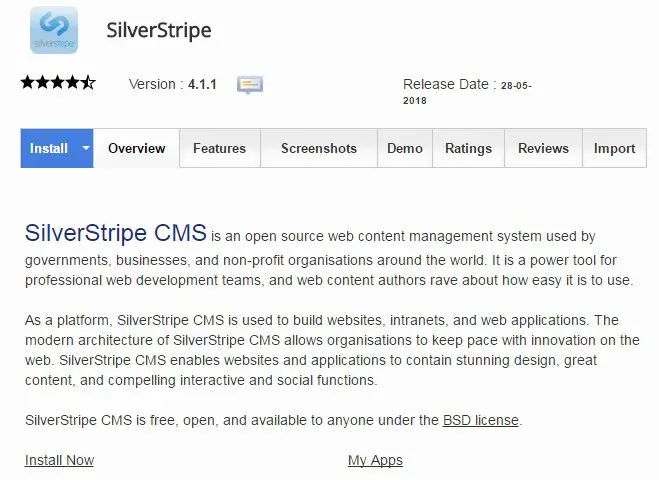
On top of that, you can experience a demo of ‘SilverStripe’ from this page. But, the most important thing is that you can inaugurate the installation from this page. So, let’s see how to do that.
Getting Started:
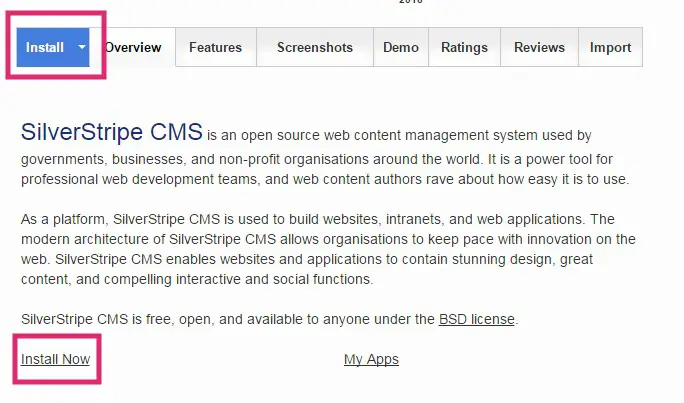
- To start the installation process, click on the ‘Install’ button or the ‘Install Now’ button on the overview page. Then the installation page will appear
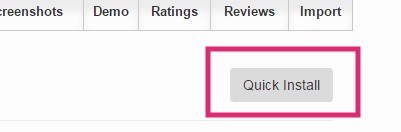
There are two ways to go to the installation. One is the ‘Custom install’ and the other one is the ‘Quick Install’. Generally, the ‘Custom Install’ method will appear first. To be honest with you, the ‘Custom Install’ method is the best method for installing a CMS via Softaculous. So, we will also share the ‘Custom Install ‘method in this article.
- If you want you can enable the ‘Quick Install’ method by clicking on the ‘Quick Install’ icon from the top right corner of the screen
Let’s know about the ‘Custom Install’ method in detail. There will be 4 sections to deal with. We will let you know the ins and outs of all of the sections. So let’s start with the first section.
Software Setup:
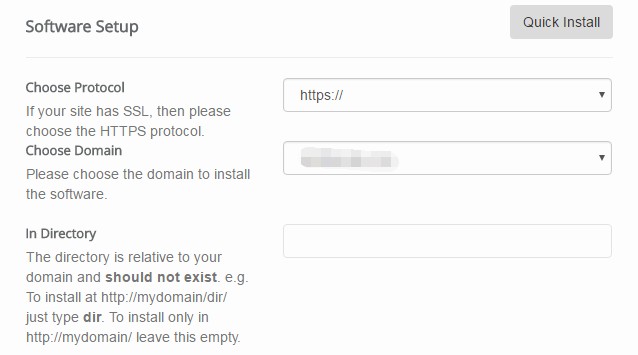
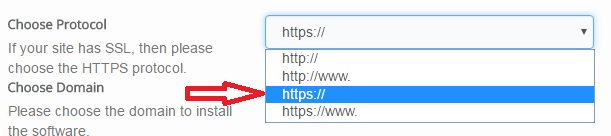
- Choose Protocol: This option is related to your domain’s SSL certificate. If your domain has ‘SSL Protection’ then choose the ‘https://’. On the other hand, if your domain doesn’t have the SSL protection then select the ‘http://’ from the drop-down menu
- Choose Domain: Select the domain where you want to install the ‘SilverStripe’ CMS. Usually, if you have only one domain connected to your hosting account. Then you will find that is automatically selected. But if you have multiple domains then select the preferred one of yours from the list
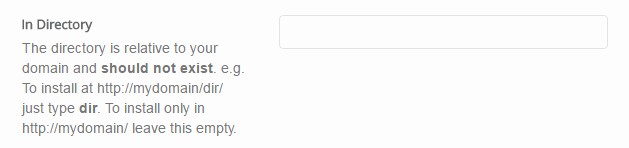
- In Directory: If you are a beginner, you should leave that as it is. Normally, if you keep this empty the CMS will be installed on the URL ‘yoursite.com’. But, if you want to install the CMS on a sub-directory of your domain then type the name in the box. Let’s say that your sub-directory name is ‘blog’. Then your website will be found at ‘yousrsite.com/blog’
Site Settings:
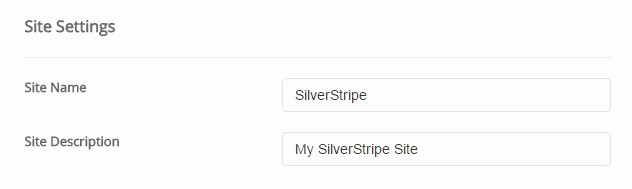
- Site Name: Type your site’s name in the blank box. You can also change it later
- Site Description: In this box, you can type your web site’s slogan or the tagline
Admin Account:
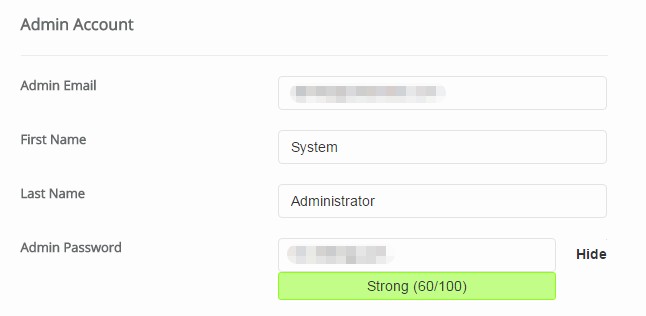
This section is an important section. So, you need to save or note down the information you are going to provide into his section
- Admin Email: Use one of your personal email address. Most importantly, this email will be used as the login email address of your new site. Also, it will be used to send you the login credentials of your ‘SilverStripe’ site. Additionally, you will need this email to reset your password later

- First Name: There will be an auto-generated name. You can change it
- Last Name: Same here. You will find another auto-generated name on this box. If you don’t like it, change it
- Admin Password: You can always keep the auto-generated password there. But, remember to save this password. Or you can also change it to an easy one
Advanced Options:
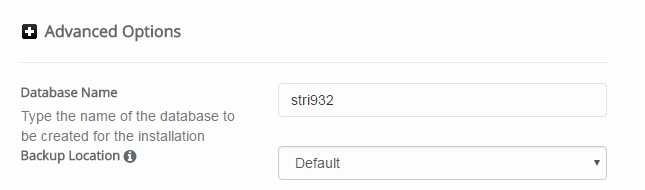
- Database Name: You don’t have to change the name. Alternatively, you can save the information
- Backup Location: Keep the settings to ‘Default’ which means you don’t need to change anything here
Finalizing the Installation:
By this time, you have provided all of the required information to start the installation. However, it is wise to double-check everything for the last time. Also, save the password from the ‘Admin Account’ section.
- If everything is OK. You can click on the ‘Install’ button from the bottom of the page to start the installation

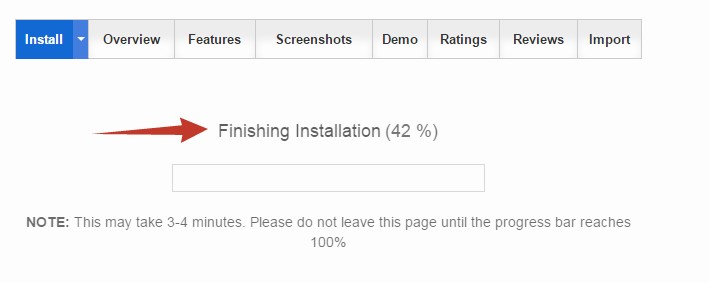
- Then on the next page, you will see the installation is in progress. So, wait a bit for the installation to finish. It doesn’t take much time. During this period, do not close this tab. The installation will be completed within a minute
- After the installation is completed, you will see the ‘Congratulations’ message on the next page
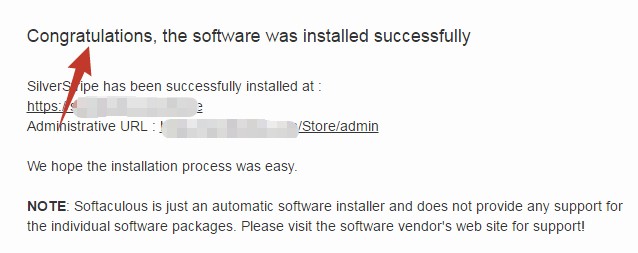
- You will also find the ‘Administrative URL’ of your new ‘SilverStripe’ site. With this URL, you can log in to the admin panel of your site. So, please bookmark the URL
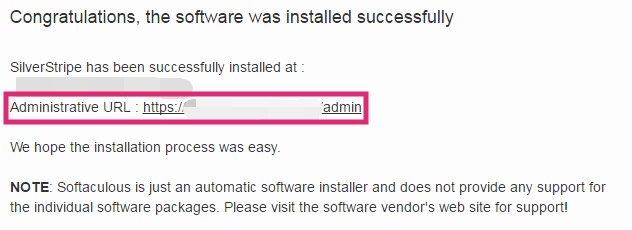
Tip: The default structure of the ‘SilverStripe’ administrative panel is ‘yoursite.com/admin’. So, you can use this structure even if you forget your URL anytime
Login to your new site’s admin panel:
So, you have installed the ‘SilverStripe’ CMS on your site. Now, you just need to login to the back-end of your site to customize the site your way. So, let’s how this works.
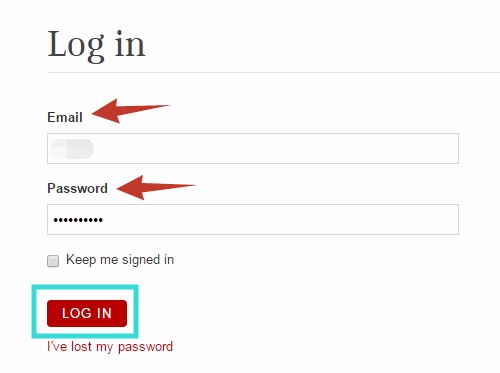
- Click on the ‘Administrative URL’ which will take you to the login page of your site directly
- Enter the ‘Email Address’ and ‘Password’ in their respective place. And click on the ‘Login’ button
To sum it up:
SiteGround has made installing any CMS to their hosting account very easy. With the help of Softaculous script installer, anyone can accomplish this. In addition to that, we have tried to describe the entire process of installing ‘SilverStripe’ on a SiteGround hosting account. We hope this will help you to start your new website without any hassle.