
DISCLOSURE: This post may contain affiliate links, meaning when you click the links and make a purchase, we receive a commission.
For us website owners, making changes to our websites is a routine job. Truth be told, it would save us a lot of time if we could keep track of the changes we made to our websites. Then if anything would go wrong, we could revert back to the previous step with ease. But, usually, it is not possible unless you manually note down every bit of modifications. We all know that is not a viable option.
But, like every other problem, there’s a solution to this as well. You can use ‘Git’ to keep the track of all of the changes you make to your website. Plus, it is very easy to that. You can customize your website locally on your computer then you can push the changes to your live website.
If you want to learn how to do that. Then you should read the rest of this article. Because in this article, we will show how to use ‘Git’ on your website. To be more precise, we will talk about the ‘SG-Git’ tool. If you have no idea about this particular tool, then first let us talk about it in detail. As our other tutorials, we will also attach screenshots to each step to make it graspable to everybody.
So, let’s start.
SiteGround SG-Git Tutorial
What is ‘SG-Git’?
To cut the long story short, ‘Git’ is an open source tool which you can call a version control system. With this system, you can make changes to your files and directories and it will keep a track of all of the tweaks and changes. It is usually used in software development.
But, if you want to keep a track of the changes you make on your website, you can use ‘Git’ too. However, it is not possible to use ‘Git’ for all of the website owners. There are several popular web host providers who offer the ‘Git’ functionality.
And, fortunately, ‘SiteGround’ is one of them. ‘SiteGround’ has a cPanel plugin with which you can start to use ‘Git’. And, ‘SiteGround’ has named this tool as ‘SG-Git’. If you use a SiteGround ‘GoGeek’ web hosting plan then you can get the benefit of using ‘Git’ repository for your website.

Note: ‘SG-Git’ is only available for the ‘GoGeek’ plan users. You won’t be able to use it if you have the ‘StartUp’ or ‘GrowBig’ plan
How to use ‘SG-Git’?
As you already know the definition of ‘SG-Git’. Now, it’s your turn to know how to use it. In the next section of the article, we will talk about the ins and outs of using ‘SG-Git’. So, without wasting more time. Let’s go ahead.
The entire process can be divided into 3 parts. We will walk you through all of them one by one. So, at first, we will describe the process of creating a new Git repository from the cPanel of a SiteGround web host.
Part 1. Creating a new GIT repository on your SiteGround cPanel:
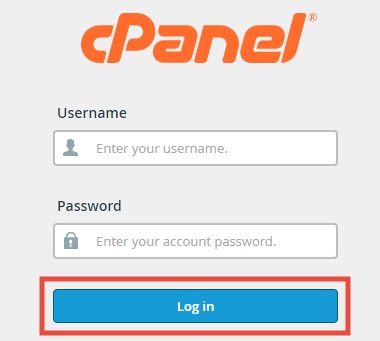
- First of all, log in to cPanel of your SiteGround web host account
- Now, locate the ‘SG-Git’ button which will be under the ‘Site Improvement Tools’ section. And, click on the ‘SG-Git’ button

- On the next page, you will be presented with the ‘SG-Git’ user interface. You will find all of the active Git repositories under the section of the same name. And on the ’Websites’ section, you will find the list of your websites
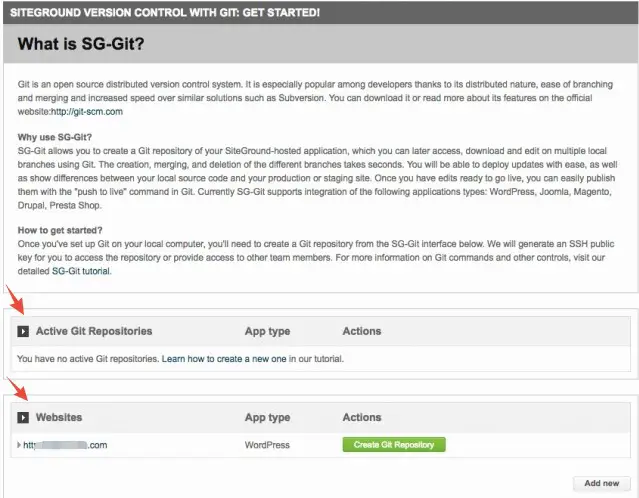
- If you don’t see any websites listed there. You can click on the ‘Add new’ button from the bottom right corner of the screen

- A new pop up box will appear, from there you can select your preferred site from the drop-down menu. After that, simply click on the ‘Submit’ button to add the new website

- However, if you used the Softaculous auto installer to install the CMS on your website then it will be available on the list. So, click on the ‘Create Git Repository’ button next to your preferred website. That way, the creation of the new ‘Git Repository’ will be started. The time will depend on the size of the files of your website

- When the new ‘Git Repository’ is created, you will see a new popup box will appear. You will find the ‘Clone Command’ line and also the ‘SSH’ key on that popup window. Copy and save both of this information for later use. If you want to access ‘SG-Git’ later you have to use the SSH key
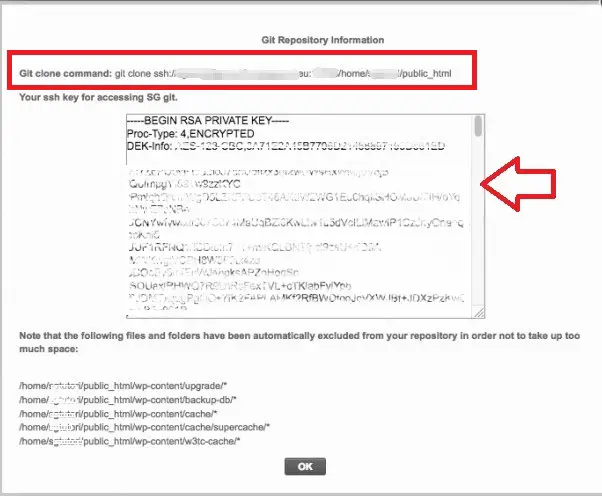
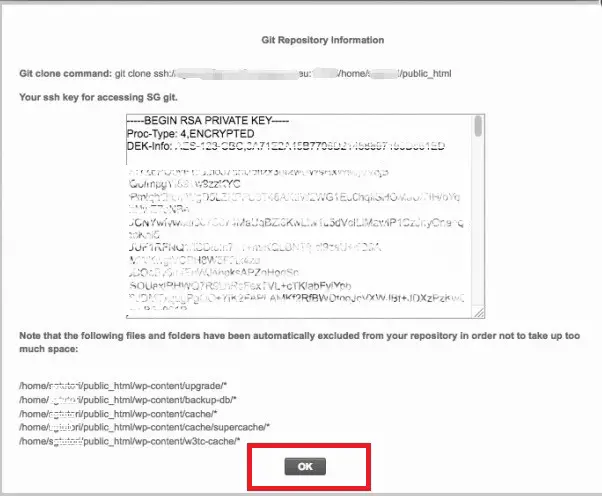
- Also, you will find a list of all of the excluded files and folders under the ‘SSH’ key. At last, click on the ‘OK’ button to close the popup box
With this, you have just added a new ‘Git Repository’ on your SiteGround cPanel. Next, we will tell you how to clone ‘Git Repository’ locally.
With this method, you can download a copy of the ‘Git Repository’ to your computer. From there, you will be able to make changes locally. And, then you can push the changes to your live site easily.
So, let’s see how to clone ‘Git Repository’ locally.
Part 2. How to clone Git Repository locally?
If you want to work with your ‘Git Repository’ on your computer. Then you have to clone it to your computer locally. The entire process depends on the operating system you are using. In this section, we will show you how to do that.
How to get the SSH key:
First of all, you need to know the ‘SSH’ key of your ‘Git repository’. Let’s see how to find that.
- After logging into the cPanel of your hosting account, click on the ‘SG-Git’ button from under the ‘Site Improvement Tools’
- Then if you have already created a ‘Git repository’, you will find that site listed under the ‘Active Git Repositories’ section. Now, click on the ‘Info’ button from next to that website name

- A new popup will appear with all of the required information. You will find the ‘SSH’ key on that popup

SSH Key
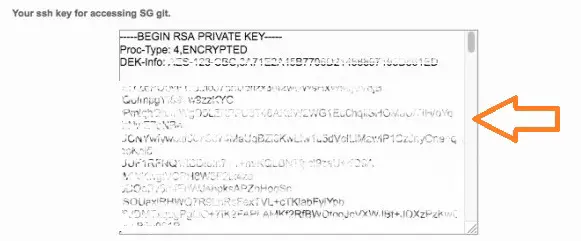
As you have got the ‘SSH’ key its turn to use it. Let’s see how to do it.
For Windows and Mac OS?
- First, download the ‘Git’ from this website (for windows) or this website (for Mac OS)
- Then, install the software on your PC or Mac
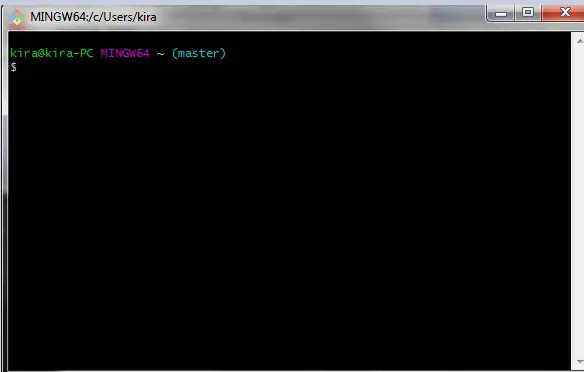
- Now, launch the software. You will see a new window will appear like the image below. It is the ‘Git Bash’; you will have to copy-paste some command lines here to perform specific operations
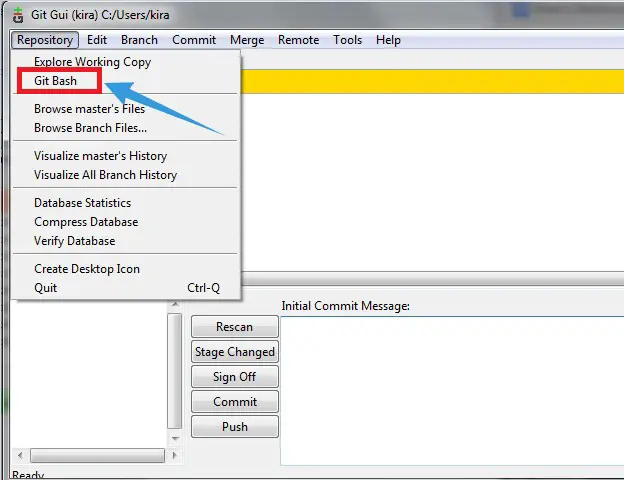
- If it does not appear, then you have to find it manually. First, launch the ‘Git GUI’
- And click on the ‘Repository’ button from the top-left corner of the screen
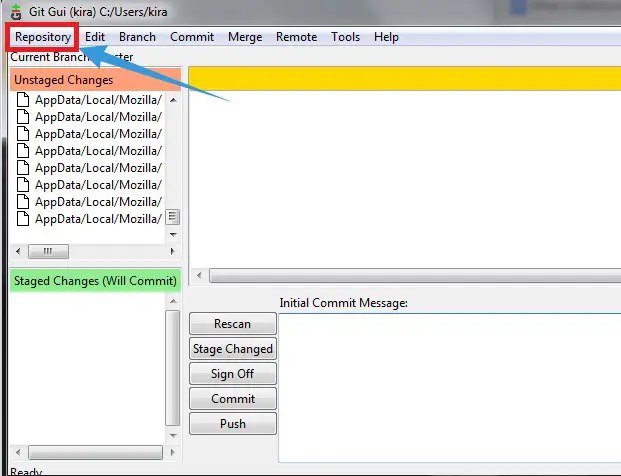
- That will bring a list of sub-menu. Click on the ‘Git Bash’ button from that list to launch the ‘Git Bash’ manually
After you have launched the ‘Git Bash’, you have to configure the ‘Git’
Configuring the ‘Git’:
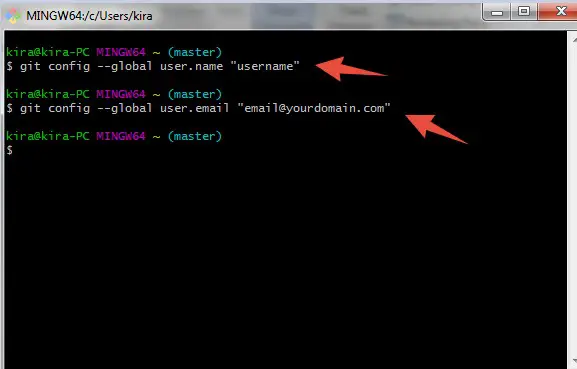
To configure ‘Git’ that use this two commands on the ‘Git Bash’:
git config --global user.name "username"
git config --global user.email "[email protected]" (You have to replace the part of ‘username’ and ‘[email protected]’ with your original username and email address)
After configuring, you can start the process of cloning. You can use several methods to do that. We will explain all of them below. You can use any of them.
Cloning ‘Git Repository’?
You can clone the ‘Git Repository’ using three methods. First, you can directly clone the ‘Git Repository’ on the default installation directory of the ‘Git Bash’.
Otherwise, you can choose a specific folder to save the cloned ‘Git Repository’. We will first explain how to clone to the default installation directory of the ‘Git Bash’ on the next method.
Method 1:
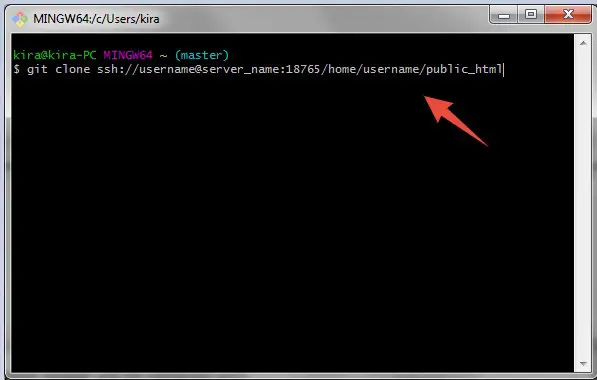
- To do that, copy the ‘Git Clone Command’ line from the pop up on your SiteGround cPanel. And then paste it on the ‘Git Bash’. The command line would be like this:
git clone ssh://username@server_name:18765/home/username/public_html
(the username and server name will be replaced with your actual username and server name)
Now, if you want to clone the repository to any specific folder, then you can use any of these two methods below.
Method 2:
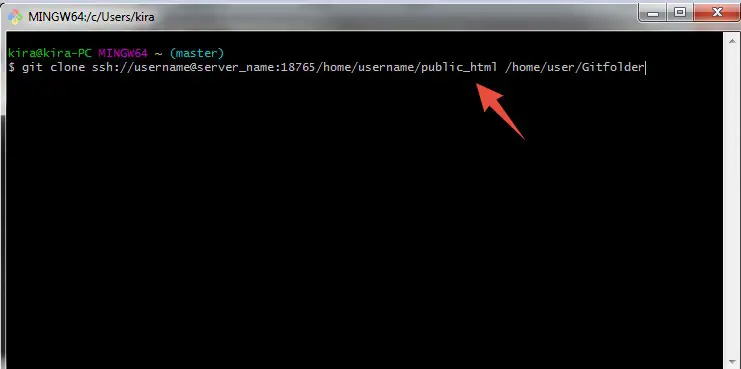
- Launch the ‘Git Bash’ and use this command line:
git clone ssh://username@server_name:18765/home/username/public_html /home/user/Gitfolder
Here, the part ‘home/user/Gitfolder’ means that it will be cloned in a new folder named ‘Gitfolder’ (as always, the username and the server name should be changed with yours). Also, you can use any name other than ‘Gitfolder’ for the new folder. Just use your preferred one instead of ‘Gitfolder’
Method 3:
Another shortcut to the above method is to-
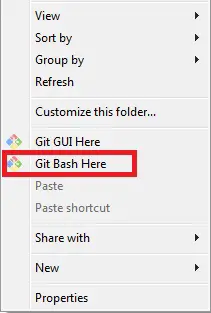
- Go to the folder where you want to save the clone ‘Git Repository’. And then right-click and click on the ‘Git Bash Here’ button from the options
- Then paste the ‘Git Clone Command Line’ on the ‘Git Bash’
Now, we assume that you have used any of the methods above to paste the ‘Git Clone Command’ line on the ‘Git Bash’.
- Shortly, after that, the process of cloning the repository will be started. Remember, the time will depend on the size of the repository
Some useful Git Commands:
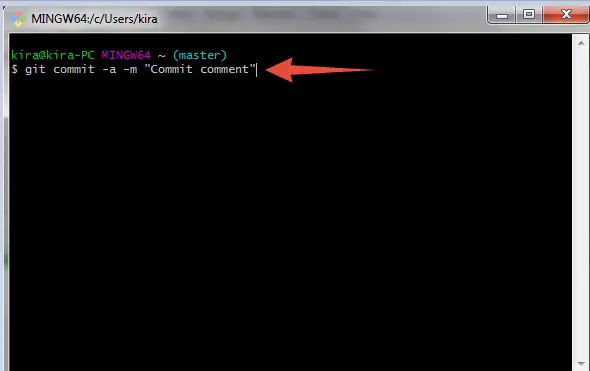
- After the repository is successfully cloned. You can make changes as you want. When you want to save the changes. You have to use this command line on the ‘Git Bash’ to commit/save the changes:
git commit -a -m "Commit comment"
- If you want to push the local changes to your live site, you have to use this command line on the ‘Git Bash’:
git push
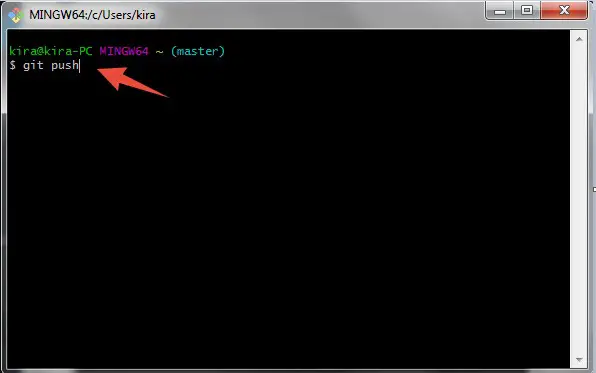
- Instantly, the ‘Git Bash’ will establish a connection to the server and all of the changes will be updated on the live site
Note: If you want to learn more Git Commands, go to this link
Part 3. How to destroy a ‘Git Repository’?
When you have already created a ‘Git repository’. You will find that under the ‘Active Git Repositories’ section. From there, you can delete the ‘Git Repository’ if you want to
- Click on the ‘Destroy’ button from next to the ‘Git Repository’ you want to delete

- A new notification will appear. Simply click on the ‘Yes’ button to proceed
Last words:
If you are still with us, then you have learned all of the information needed to use ‘SG-Git’. So, if you do have a SiteGround ‘GoGeek’ plan then you should try this awesome tool out on your site. From now on, you too can keep track of all the changes you make to your website.